June 19, 2020 / Nirav Shah
	PHP 7.2.24-0ubuntu0.18.04.4 (cli) (built: Apr  8 2020 15:45:57) ( NTS )
	Copyright (c) 1997-2018 The PHP Group
	Zend Engine v3.2.0, Copyright (c) 1998-2018 Zend Technologies
	with Zend OPcache v7.2.24-0ubuntu0.18.04.4, Copyright (c) 1999-2018, by Zend Technologies
Step 1: Update Package Index
First, we need to make sure our local server is pulling the latest updates.
$ sudo apt-get update
Step 2: Install phpMyAdmin Package
Now we can install the latest version of phpMyAdmin.
$ sudo apt-get install -y phpmyadmin
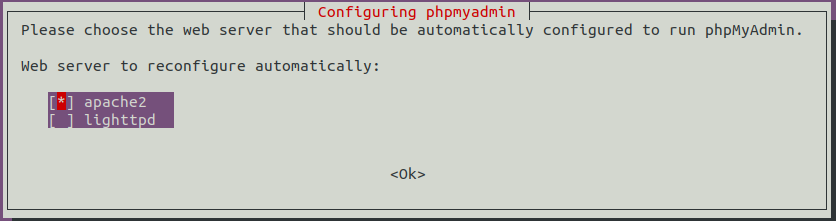
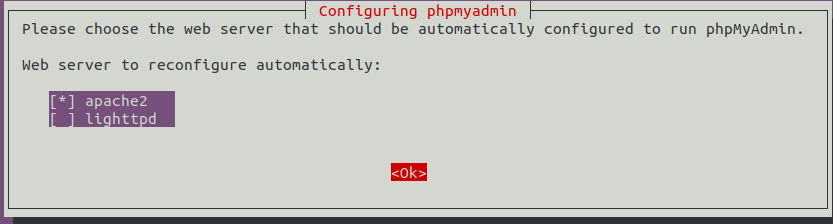
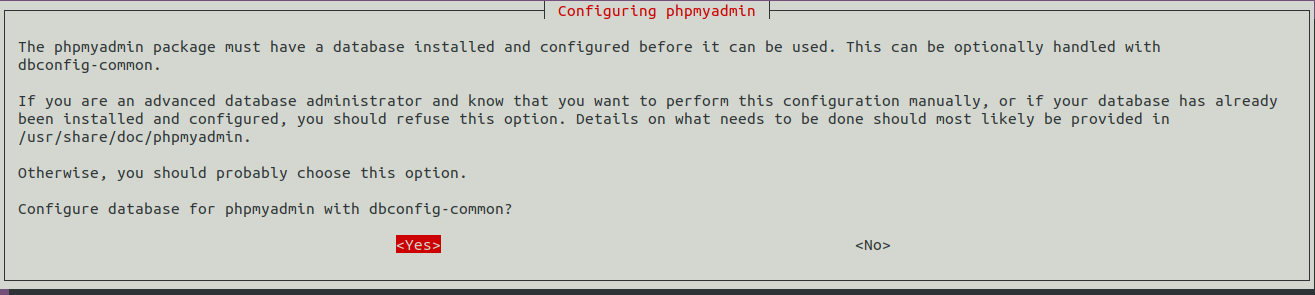
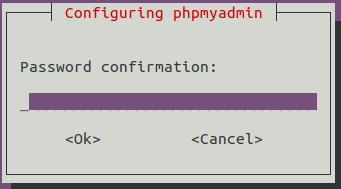
Step 3: Configure phpMyAdmin Package

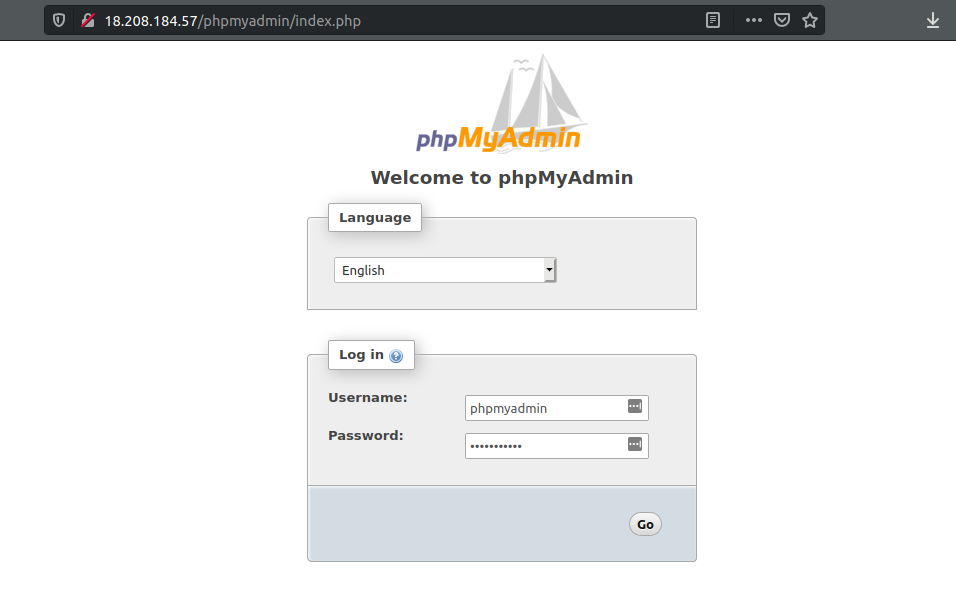
Restart Apache
Now we should restart the Apache web server for changes to take affect
$ sudo service apache2 restart


Nirav Shah is the Director of Eternal Web Pvt Ltd, an AWS Advanced Consulting Partner and certified Odoo Partner based in the UK. With over a decade of experience in cloud computing, digital transformation, and ERP implementation, Nirav helps enterprises adopt the right technology to solve complex business challenges. He specialises in AWS infrastructure, Odoo ERP, and web development solutions for businesses across the UK and beyond.
Have queries about your project idea or concept? Please drop in your project details to discuss with our AWS Global Cloud Infrastructure service specialists and consultants.


