March 26, 2021 / Nirav Shah
Apache Kafka is an open-source stream-processing software platform developed by the Apache Software Foundation, written in Scala and Java.
Updating System Packages
sudo apt-get update && sudo apt-get upgrade
Create a User for Kafka
sudo useradd kafka -m
Add a password to the Kafka user using passwd:
sudo passwd kafka
Next, we need to add the kafka user to the sudo group for it to have sudo privileges that will be required to install Kafka’s dependencies:
sudo adduser kafka sudo
You can now log in to the account, as shown below:
su -l kafka
Download and Extract the Kafka Binaries
mkdir ~/Downloads
curl "https://www.apache.org/dist/kafka/2.1.1/kafka_2.11-2.1.1.tgz" -o ~/Downloads/kafka.tgz
Next, we create a directory called kafka
mkdir ~/kafka
Change our working directory to this directory:
cd ~/kafka
Extract the archive we downloaded using the tar command:
tar -xvzf ~/Downloads/kafka.tgz --strip 1
Configure the Kafka Server
Kafka’s configuration options are specified in the server.properties file. Open this file with nano or your favourite editor:
nano ~/kafka/config/server.properties
Add the following line to the bottom of the file to allow us to delete Kafka topics.
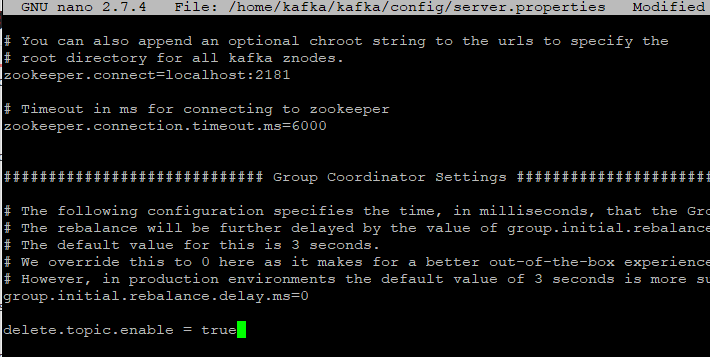
delete.topic.enable = true
Save and close the file.
Next, start Kafka with the command below:
sudo systemctl start kafka
journalctl -u kafka
The Kafka server listens on port 9092.
To enable Kafka on server boot, issue the command below:
sudo systemctl enable kafka
So we have successfully installed Kafka on the AWS.


Nirav Shah is the Director of Eternal Web Pvt Ltd, an AWS Advanced Consulting Partner and certified Odoo Partner based in the UK. With over a decade of experience in cloud computing, digital transformation, and ERP implementation, Nirav helps enterprises adopt the right technology to solve complex business challenges. He specialises in AWS infrastructure, Odoo ERP, and web development solutions for businesses across the UK and beyond.
Have queries about your project idea or concept? Please drop in your project details to discuss with our AWS Global Cloud Infrastructure service specialists and consultants.


