July 16, 2019 / Nirav Shah
AWS wants more and more people and organizations to launch their workloads in their Cloud Infrastructure and so To promote and make more and more people start using AWS Cloud Infrastructure they have an Introductory Plan called AWS Free Tier.
There they provide majority of services with a specified limit of usage every month for a consecutive 12 months period for newly created accounts. All you have to do is create a New Account and this Plan will be attached to your new account by default.
If you use the resources under their specified free tier limit; then No need to pay a single cent for that month and if you plan your resource usage accordingly for the next 11 months; then you will be hosting your Content on AWS’s Best-in-the-Market Cloud Infrastructure for $ 0; YES!!! $ 0 for 1 year straight.
We will guide you through the procedure of launching an Instance in your AWS account to host your application but, the prerequisite would be for you to have a brand new AWS account which you should be able to create by clicking on the “Create a Free Account” on this page.
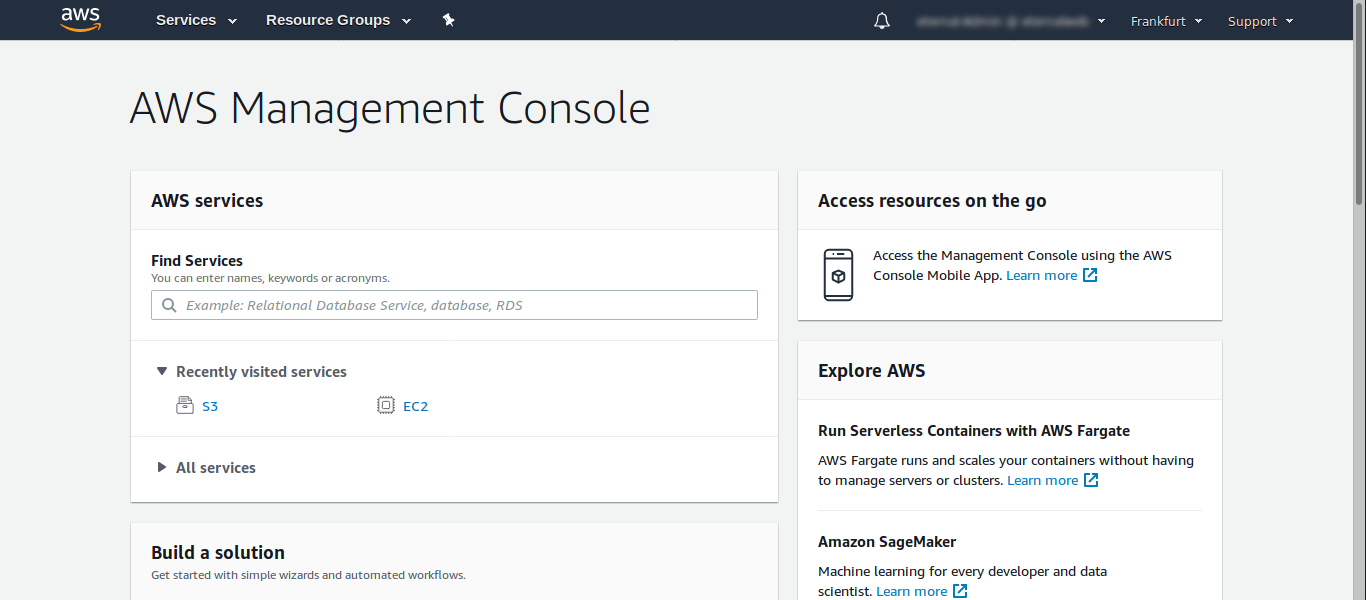
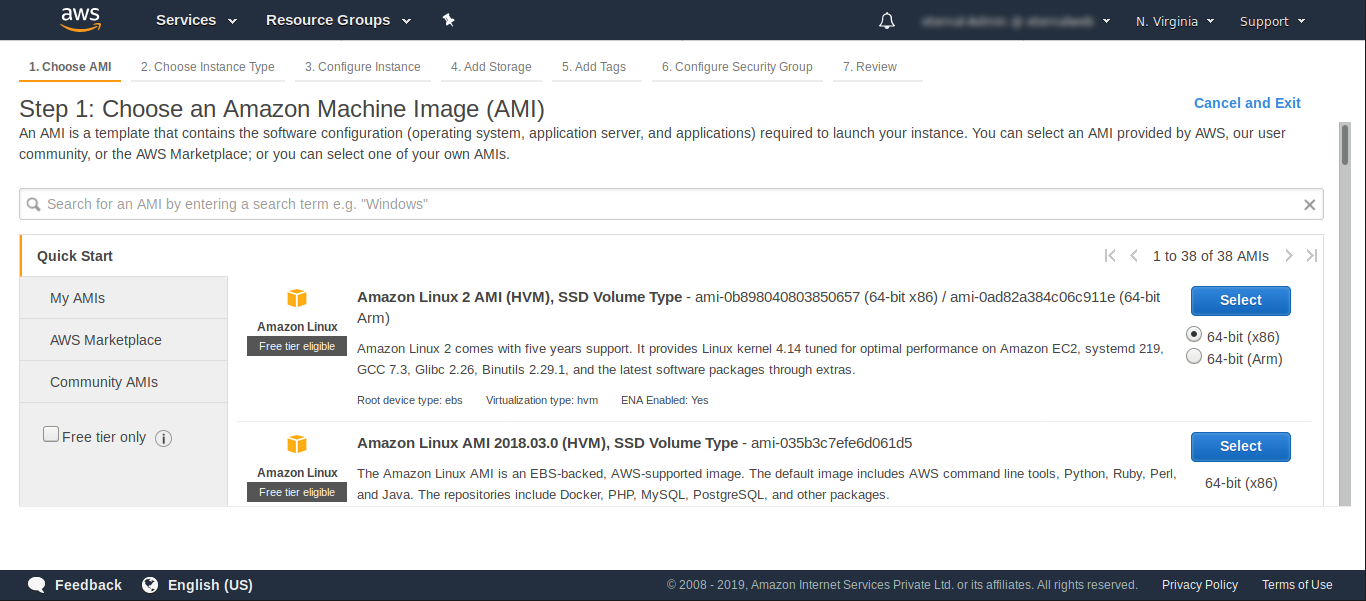
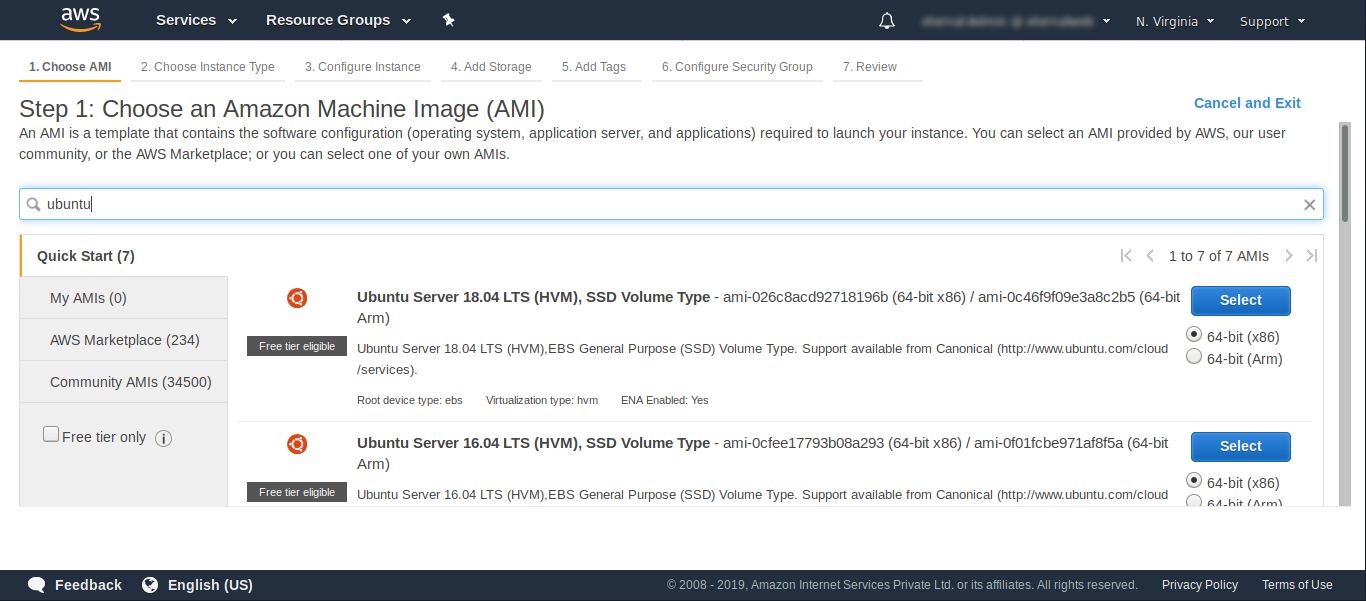
After all the account creation formalities are done; Log-In into your AWS A/C and:-
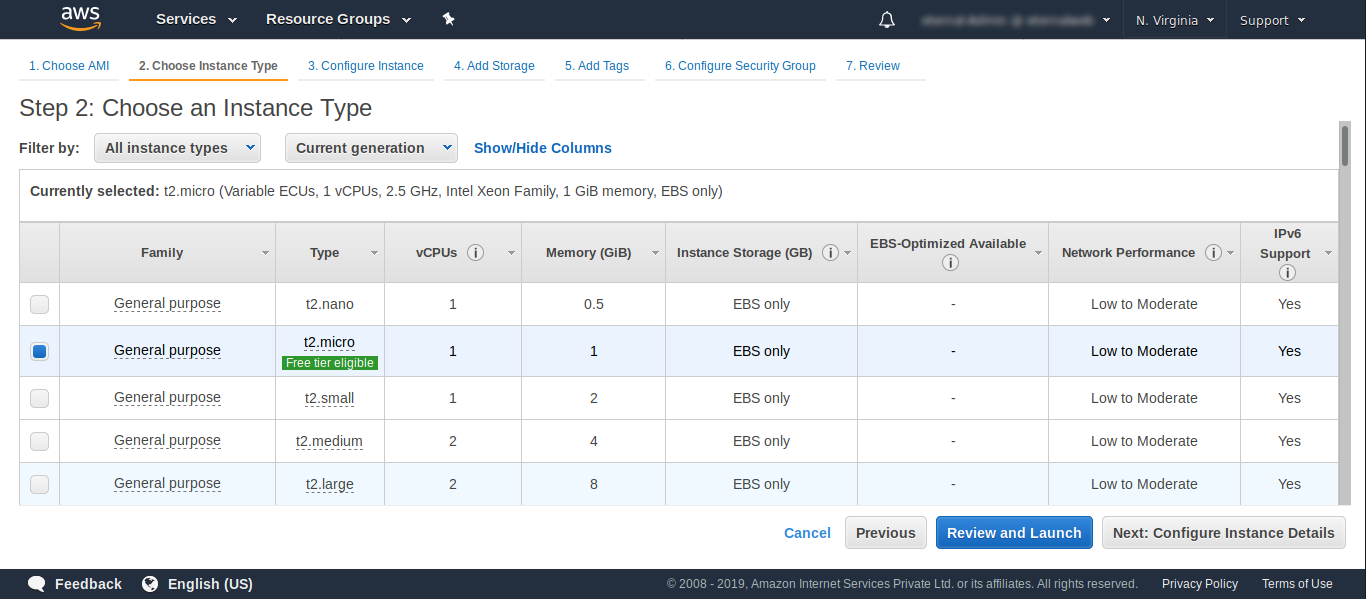 Once, the Instance-Type has been chosen; click on the “Next: Configure Instance Details” situated on the lower-right corner besides “Review and Launch” to go to the next step.
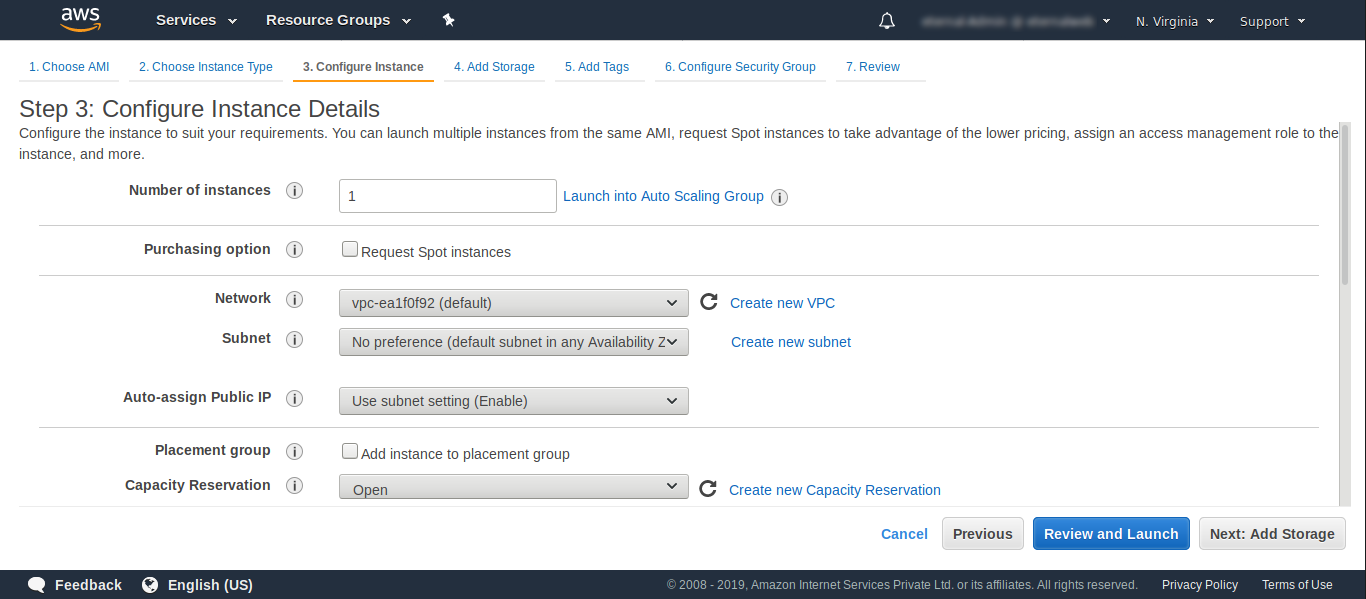 we will leave most of the options to their default ones over here and only change the things which we think needs changes like; under “Enable termination protection” we will tick the box “Protect against accidental termination”.
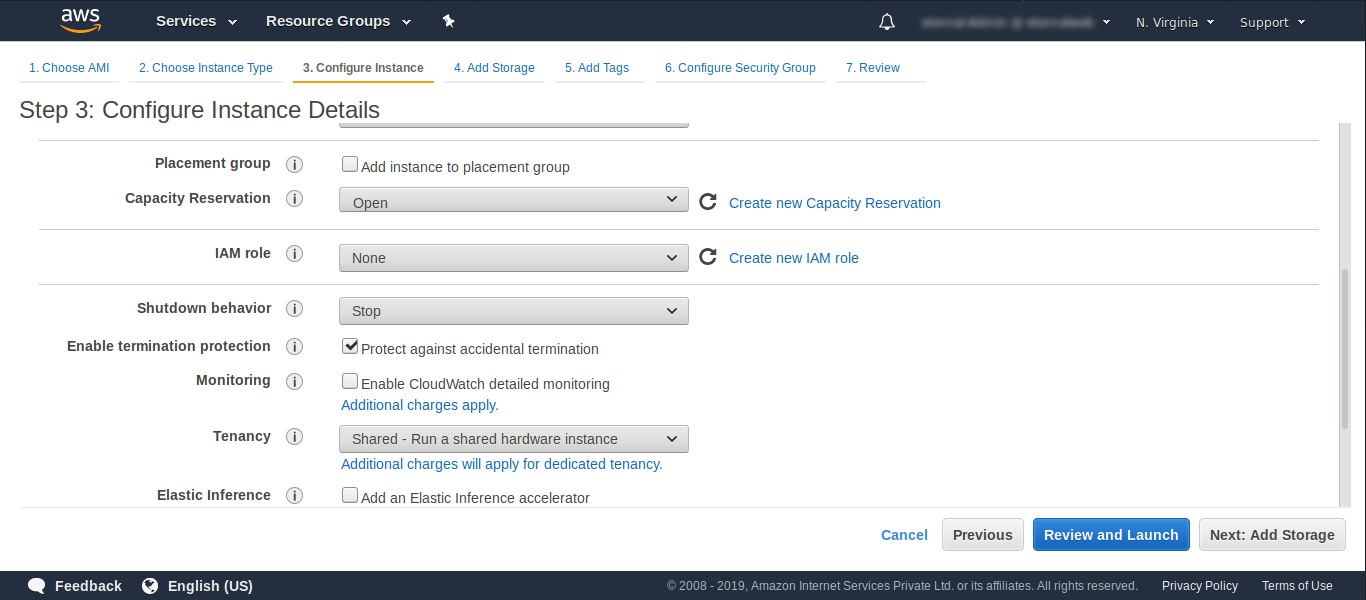 Once the following things have been done; click on “Next: Add Storage” situated in the lower-right corner just after “Review and Launch”.
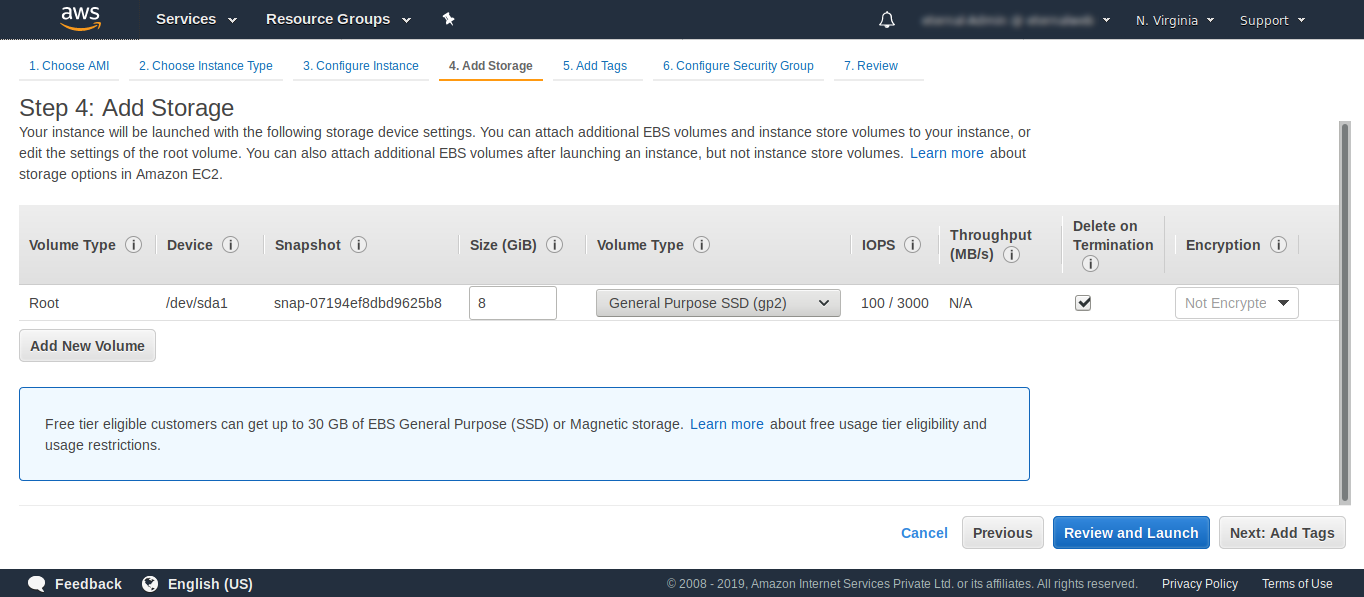 Under the “Free Tier” every AWS account gets a total of 30-GB of Elastic Block Storage, but we will go with the default 8-GB over here. After the following is done, click on “Next: Add Tags” situated in the lower-right corner besides “Review and Launch”.
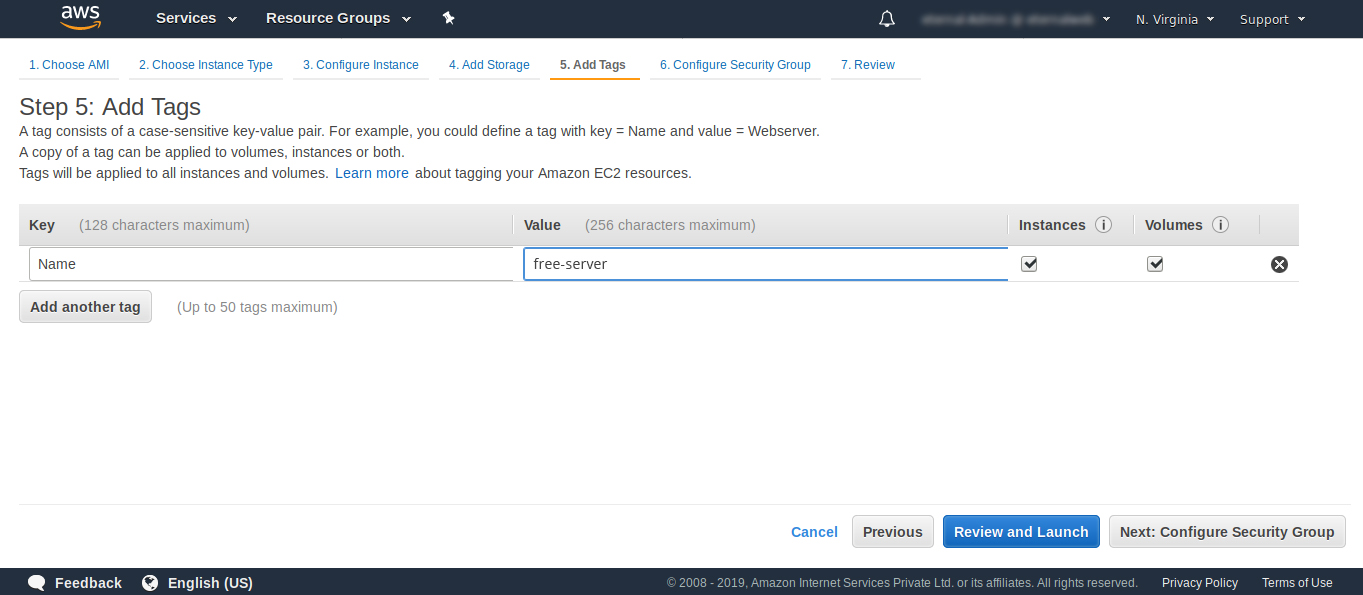 After adding the Key Value click on the “Next: Configure Security Group“ situated on the lower-right corner beside “Review and Launch”.
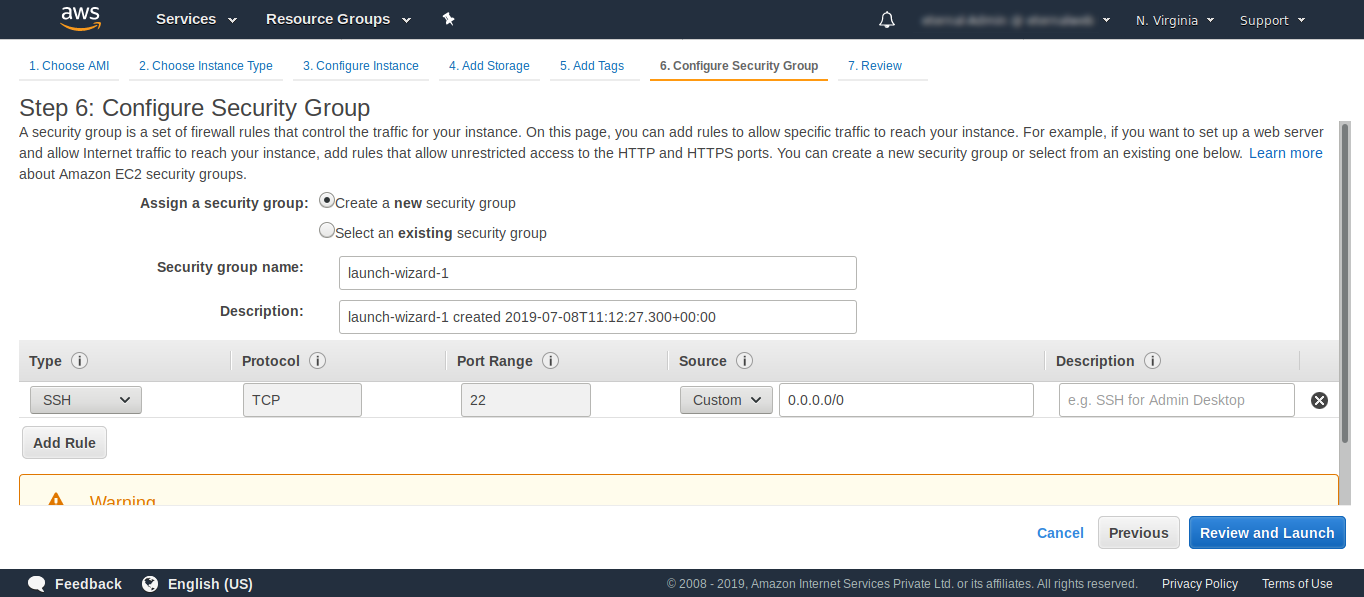 In the “Security group name” enter the name related to the website you are going to host to reduce clutter in security group identification. We are going to keep the name “free-serverSG” so that we know in the future when we review our account that this Security-Group is created for the “free-server” tagged Instance.
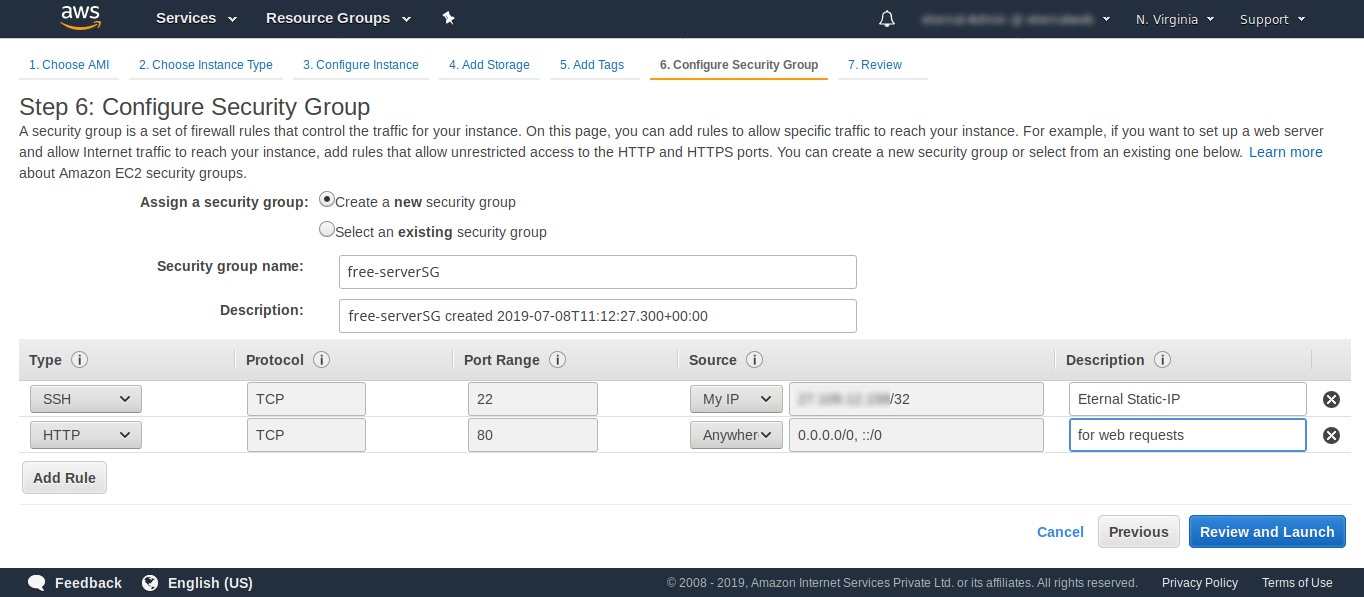
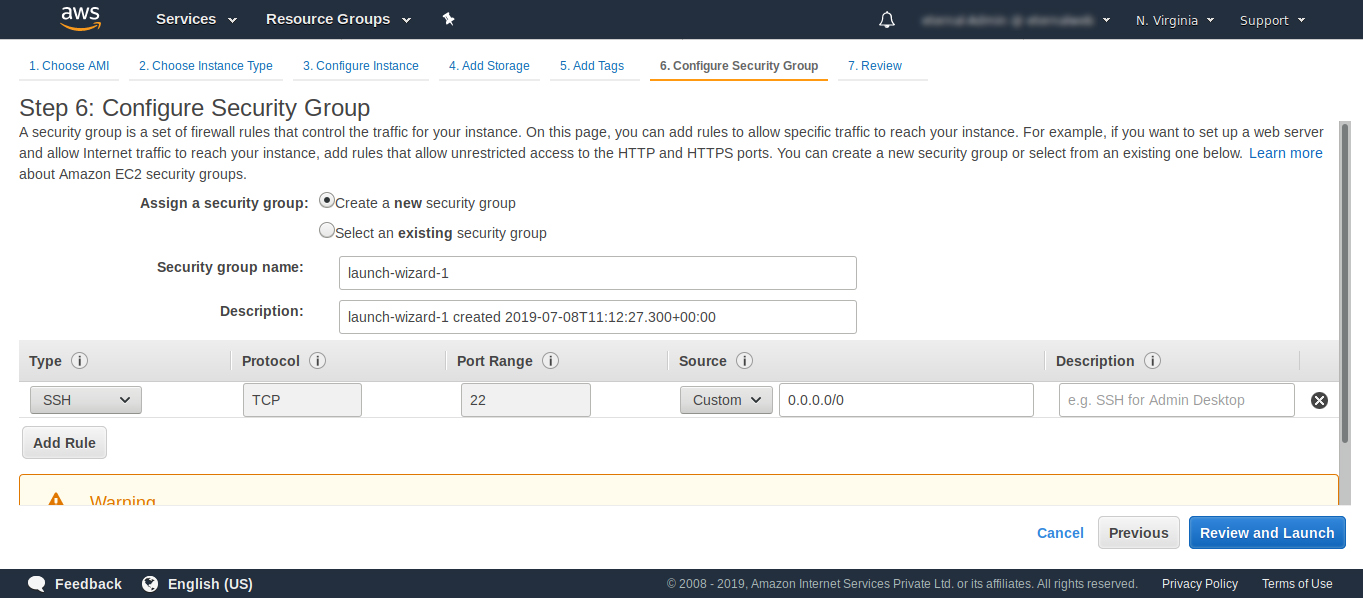 In the protocols and ports that need to be enabled, for 22 port you can make it open for a single IP if you have a Static-IP connection. But, if you do not have a Static-IP; keeping it open to the world is the only option. We will allow 22 access over here only to our Specific Static IP to increase server security.
After setting up Instance Security Group finally click on “Review and Launch” situated at the lower-right corner beside “Previous”.
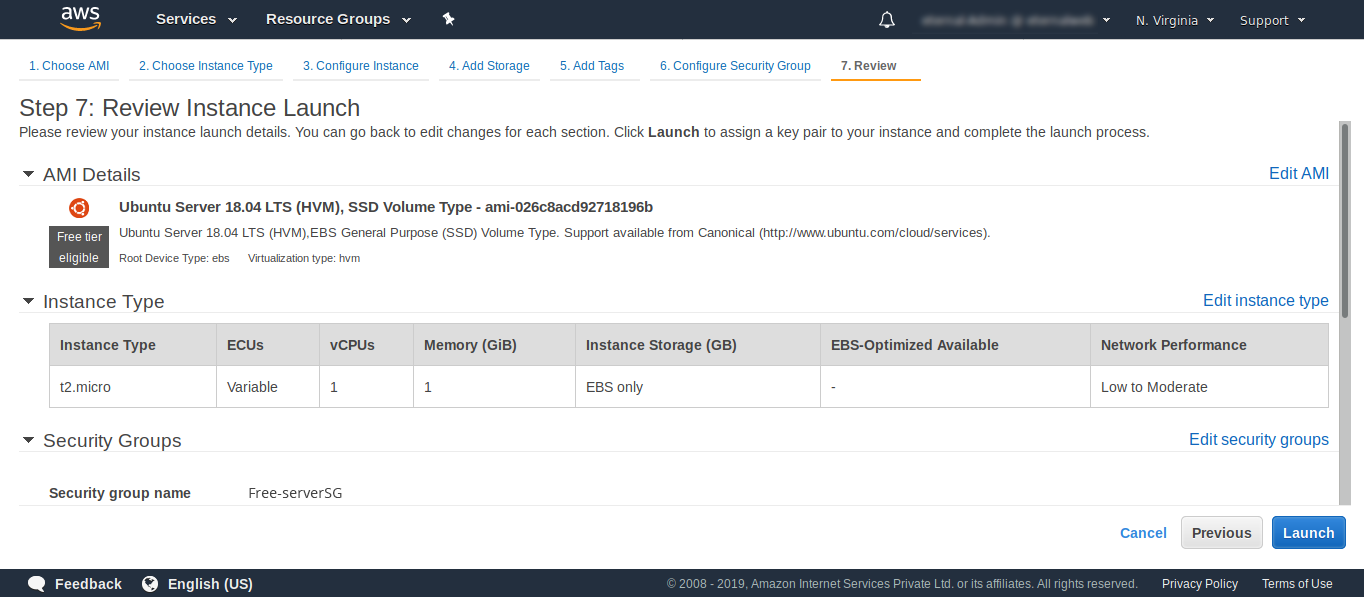 Review all the settings and double check whether all the prescribed steps have been taken; then click on “Launch” situated at lower-right corner besides “Previous”.
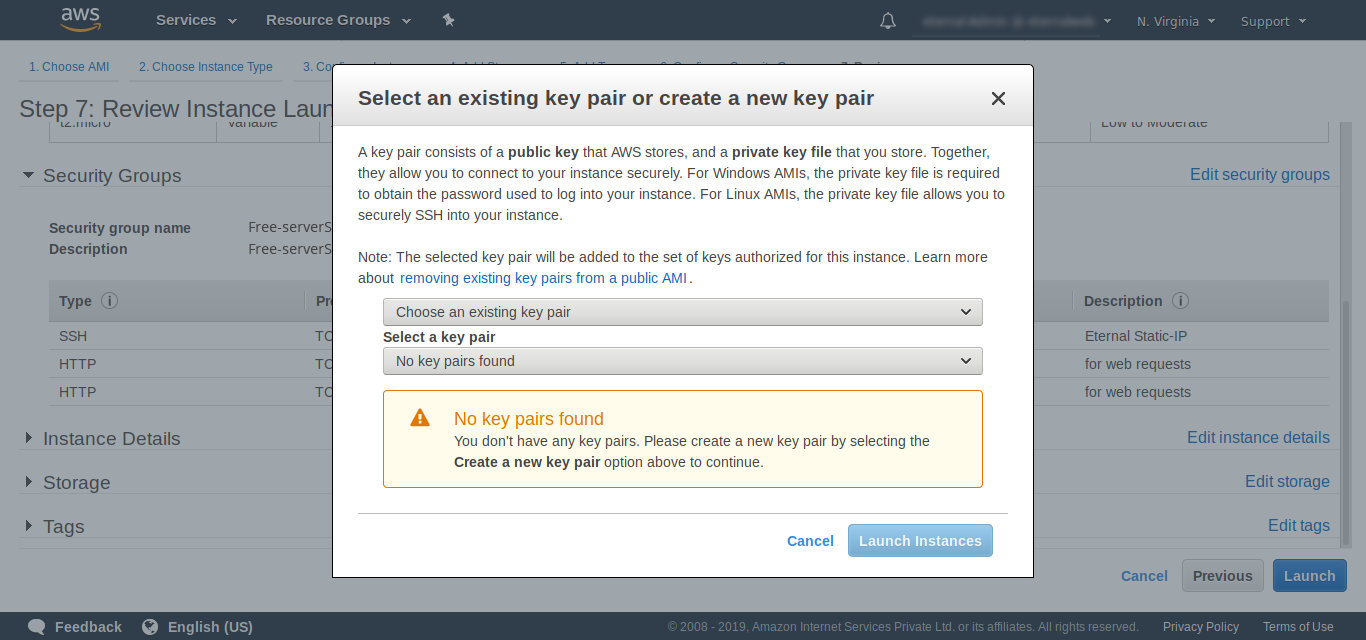 On clicking on “Launch” you are greeted with a “Select an existing key pair or create a new key pair” which recommends you to create a key pair which you will use to connect with the instance securely and which will shield the instance from brute-force attacks/dictionary attacks.
We will select “Create a new key pair” and give the key pair name “free-server” and then download the key-pair and store it somewhere securely as this is the only chance to download the pem file and afterwards there is no way provided to download existing key pairs due to security reasons.

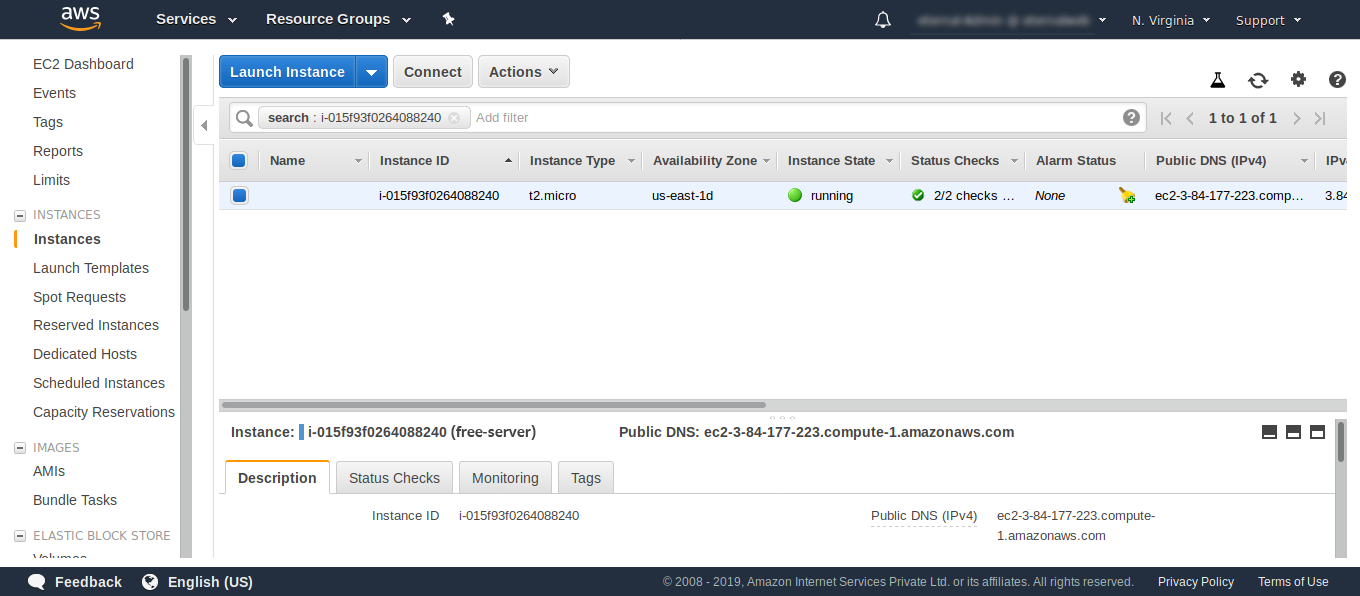
After downloading and storing the pem file in a safe place click on “Launch Instances” situated at the lower-right side of the popup. The Page will show “Your instances are now launching”

You can either navigate back to the ec2 Instance page from where you launched the instance or click on the unique instance-id shown on the screen.
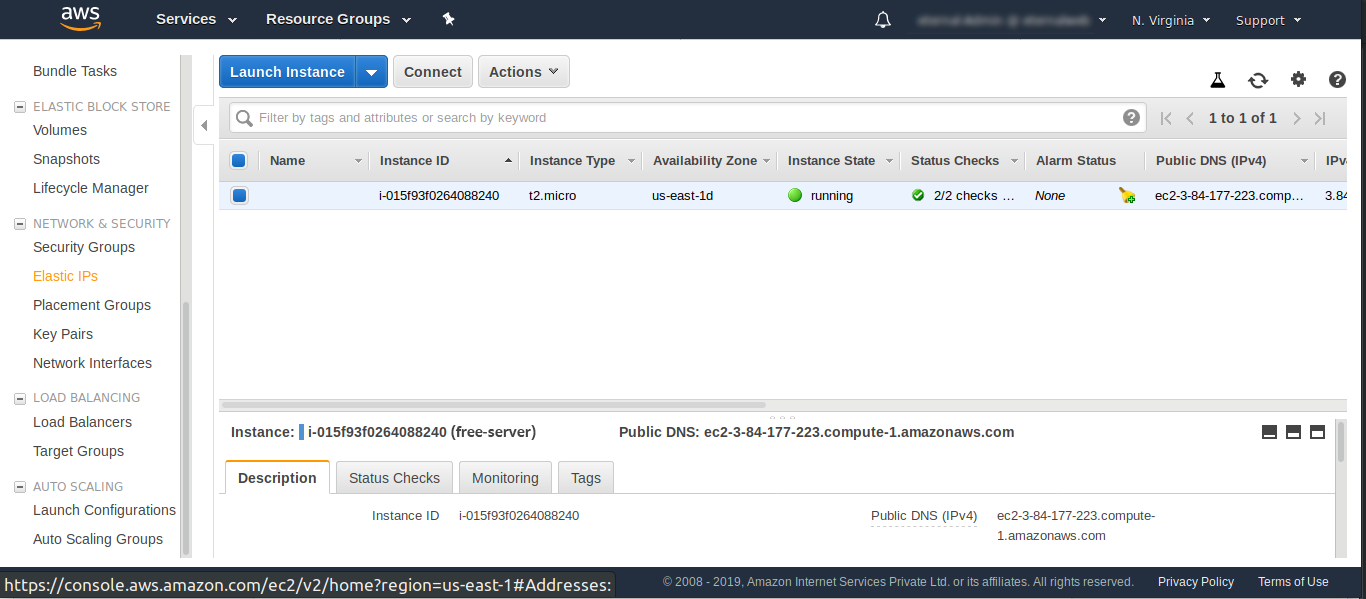 You will see a blank console saying “You do not have any Addresses in this region”.
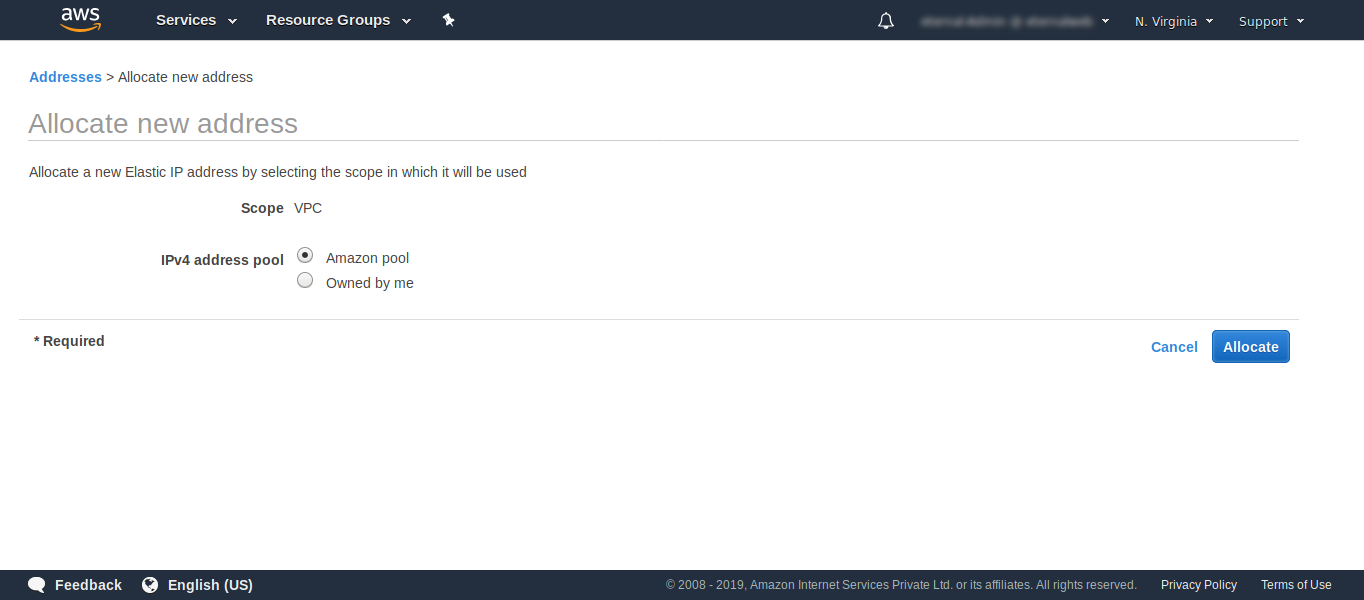
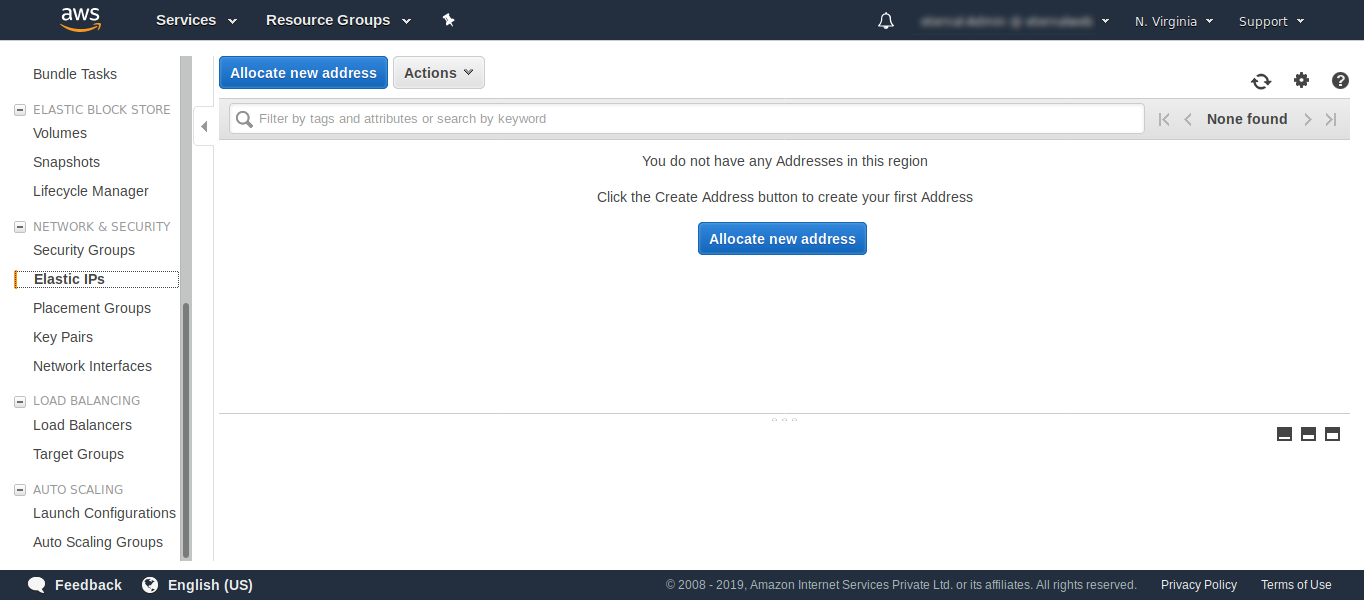 Click on “Allocate new address” and in the next screen let everything be set to default and click on “Allocate”.
On clicking on “Allocate” a Unique static IP will be provided to you like the one shown in the below image.
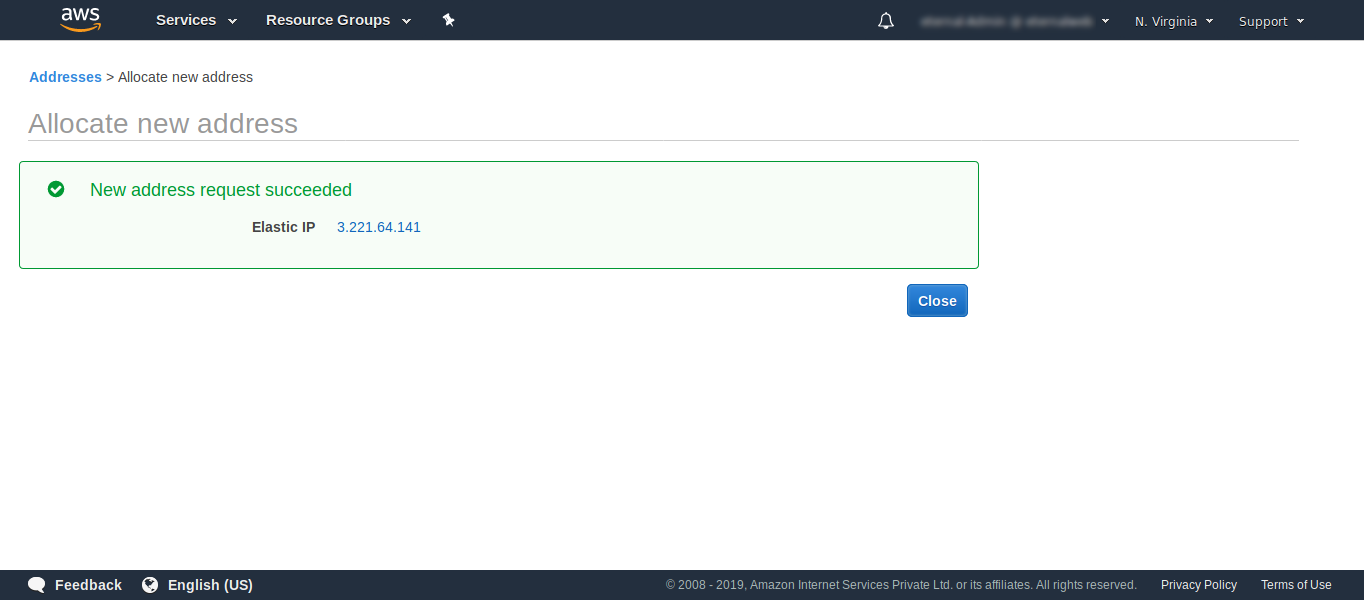
Now, click on “Close” and you will be taken back to the “Elastic IPs” where now you see the Elastic IP that was recently allotted to you.
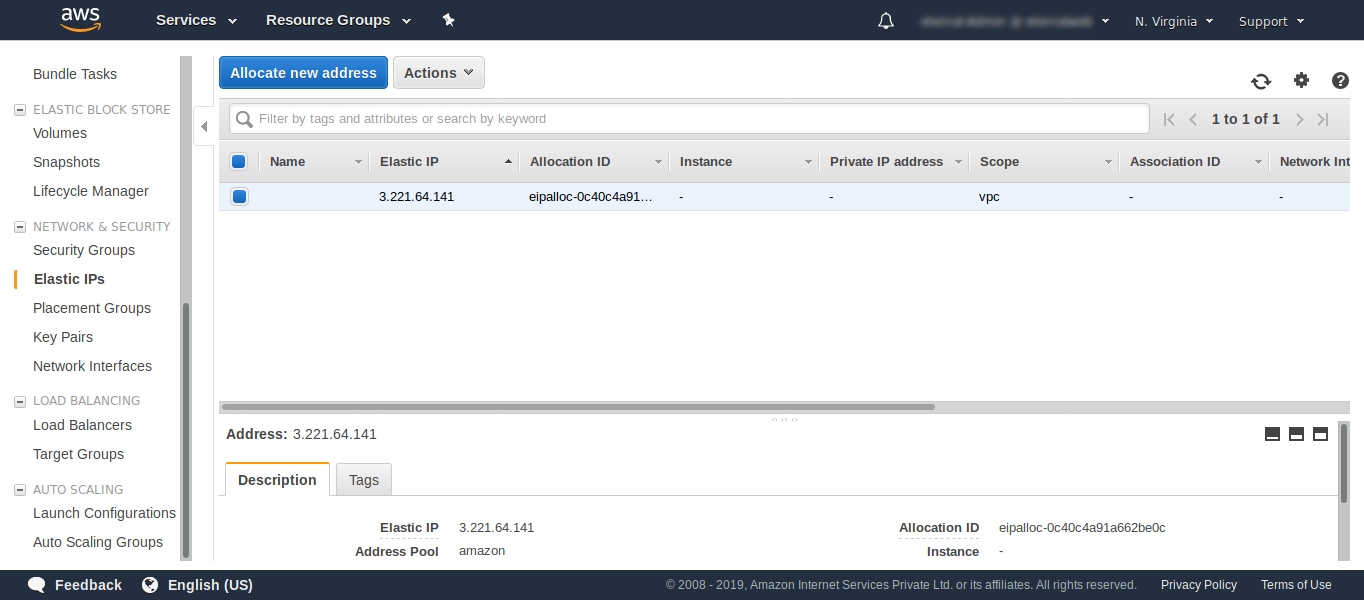
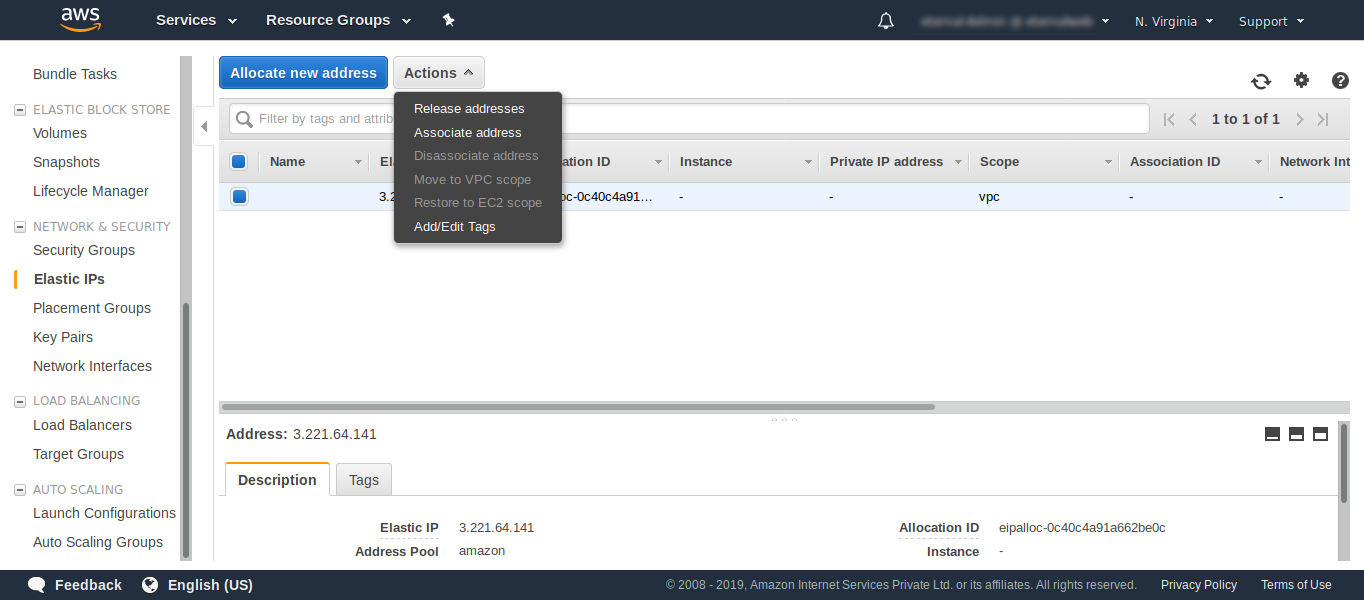
Now, click on “Actions” situated beside the “Allocate new address” and then click on the second option “Associate address”.
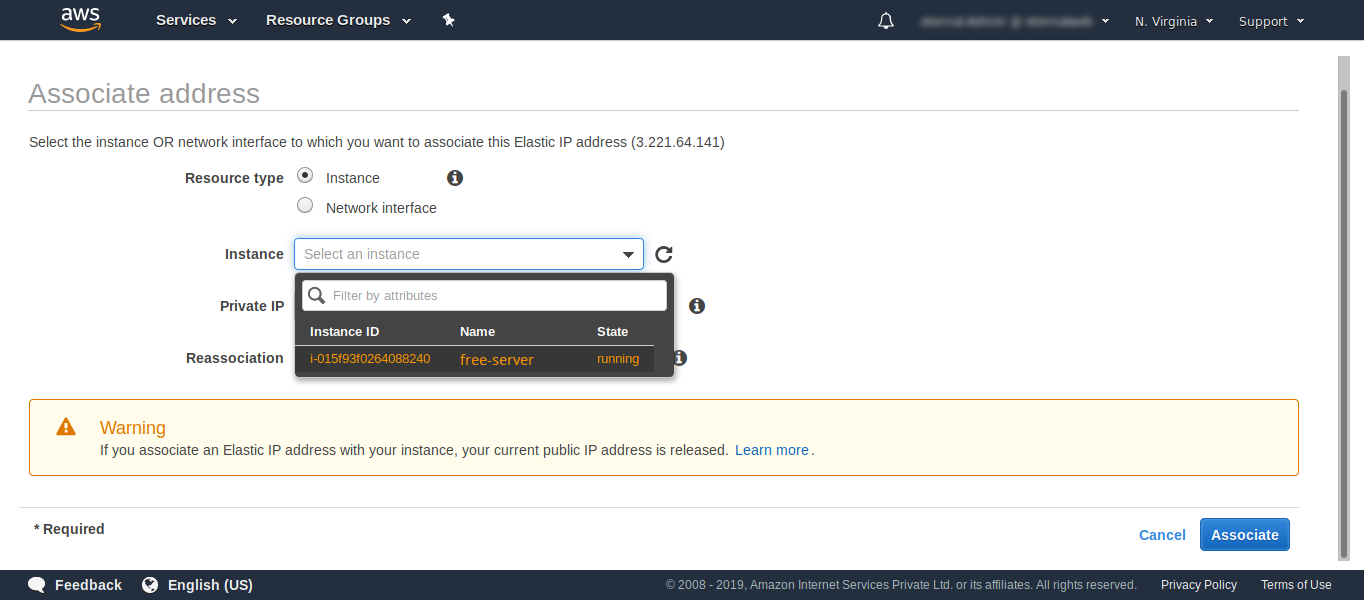
You will be taken to another page containing multiple options
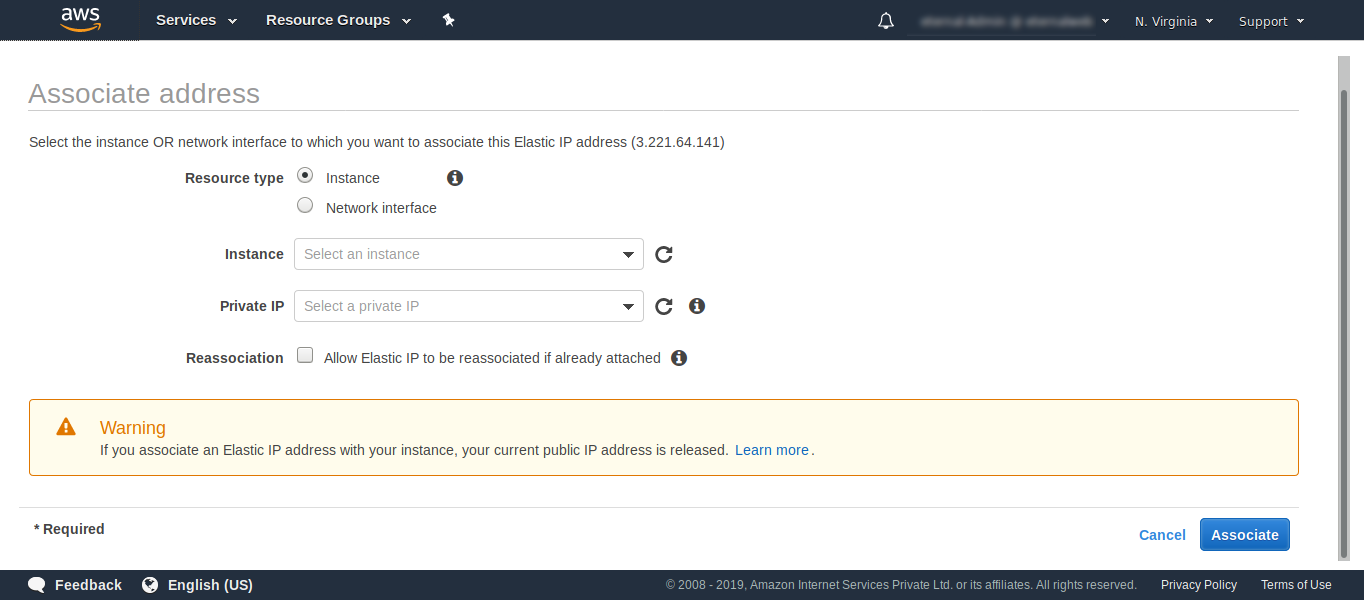
Let the “Resource type be “Instance”; and then click on the “Instance” and your recently launched instance will be listed there.
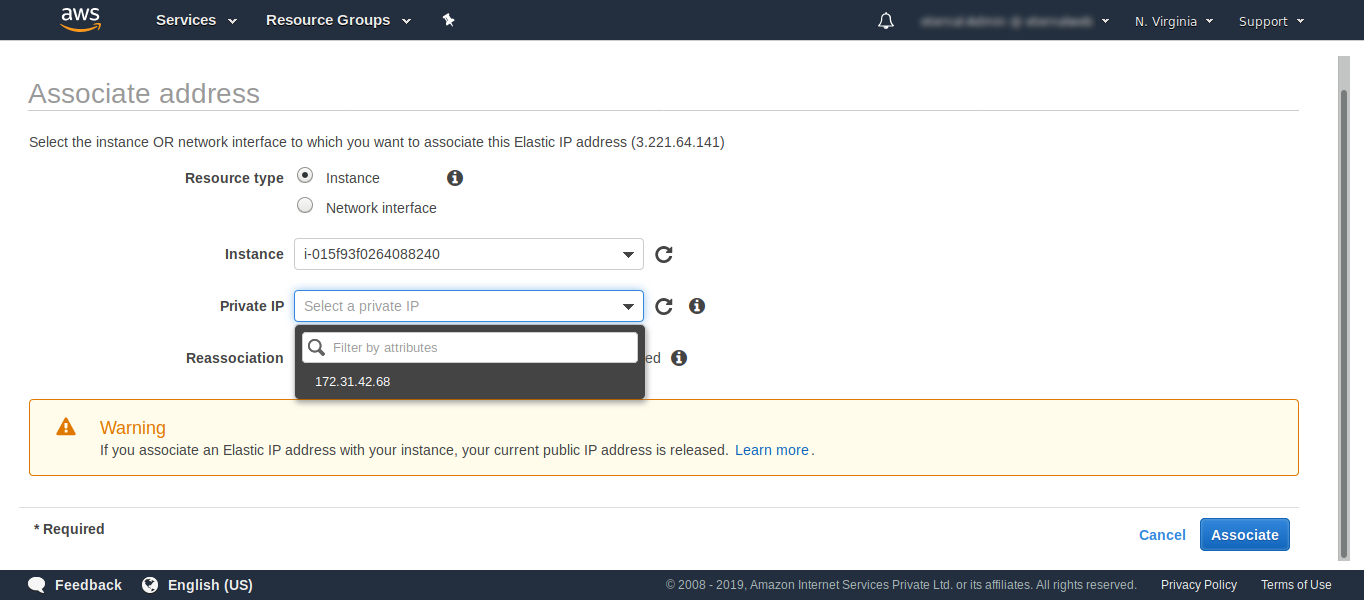
And in the second “Private IP” the selected instances “Private IP” will be shown, select it also.
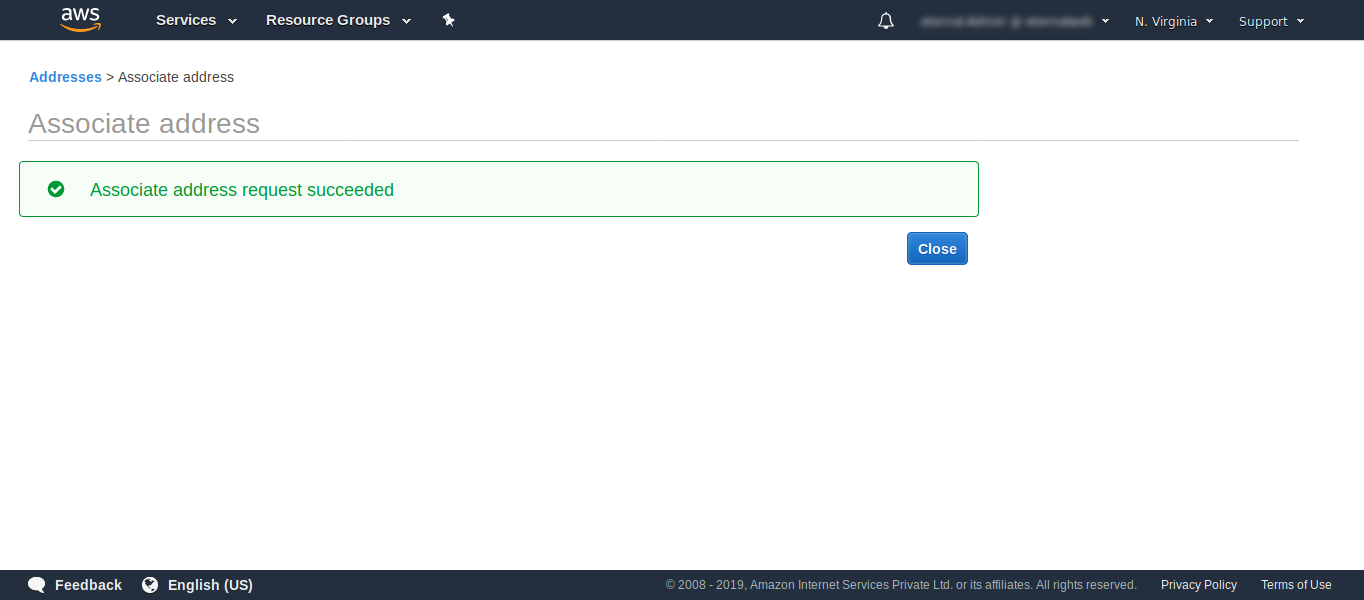
Skip the Reassociation option for now as that is not required now and click on “Associate”. The association process will start and after completion this page will be shown.
Click on “Close” and you will be taken back to the same “Elastic Ips” page which now be showing some more data like to which instance this Elastic IP is attached to.
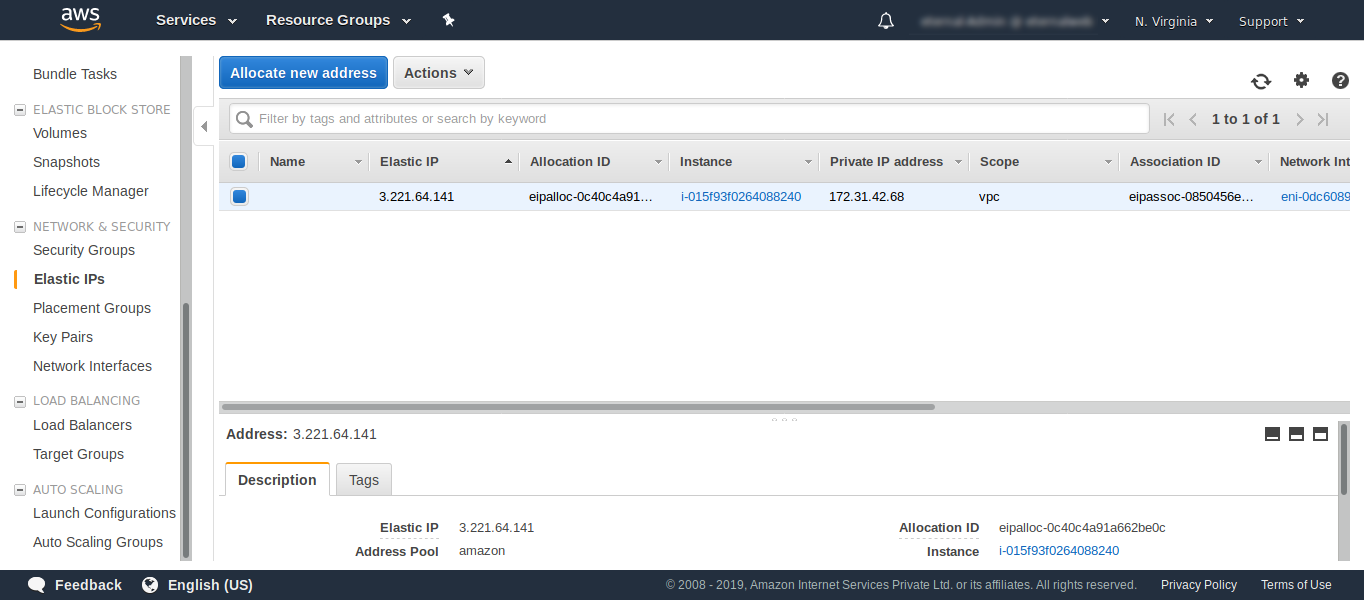
The whole reason behind adding an elastic IP is the allocated public-IP to the newly launched instances are always dynamic and will compulsorily change if you stop and then again start your Instance. The aftereffect will be your server’s IP-address will not be the same as the one that you pointed to in your DNS records. Due to this, you won’t be able to view your wordpress website from the domain name. To stop this whole thing from happening we attached an Elastic IP to the Instance.
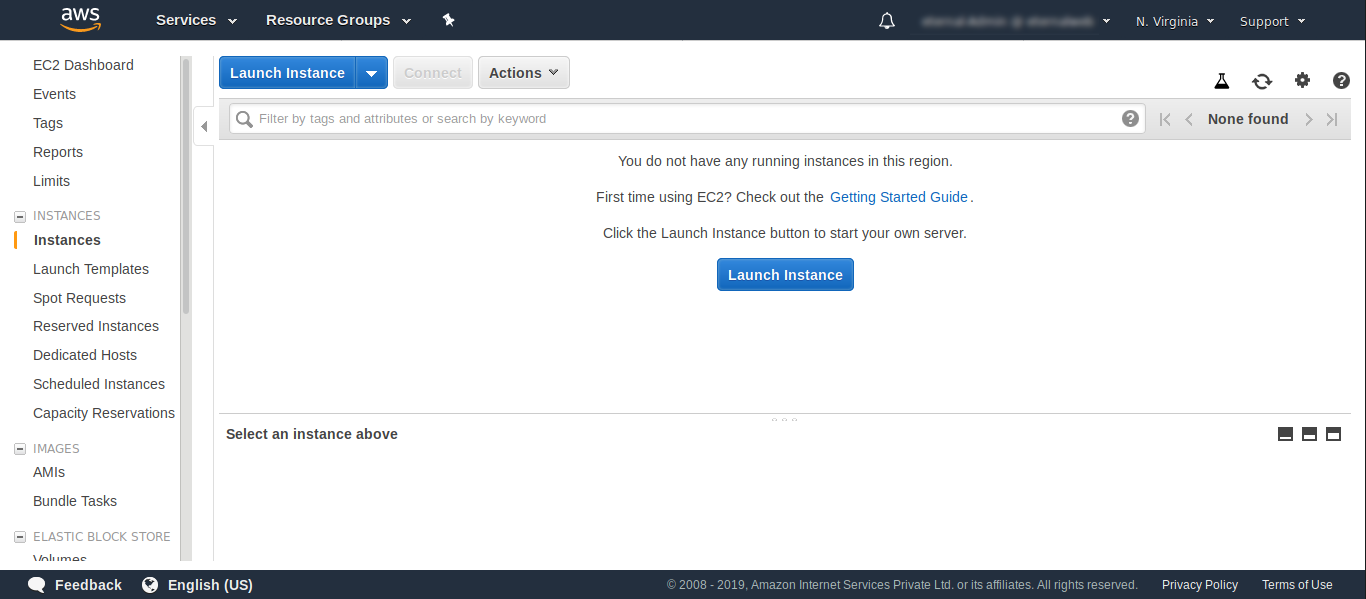
Now, scroll-back up in the left-pane of the AWS Console and find “INSTANCES” under which click on “Instances”.
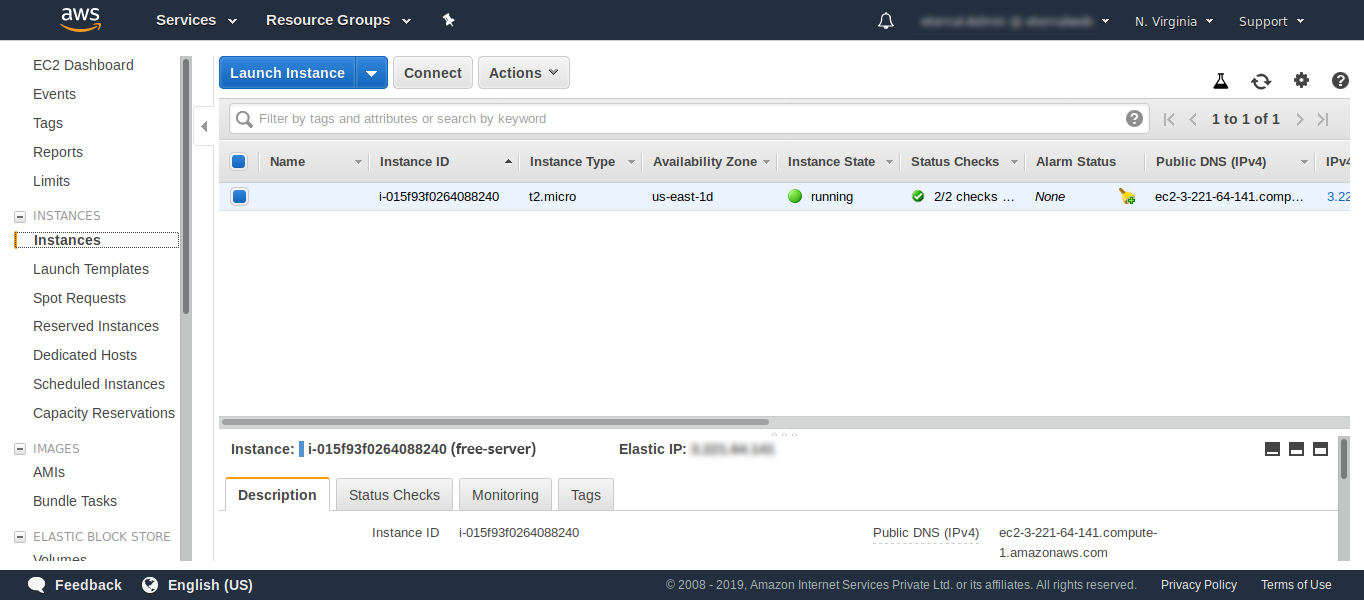
Here, if you see the Elastic-IP is now shown as “Elastic-IP: 3.221.64.141”.
Your, Free-Server is launched and ready for you to log-in into and setup for your custom code requirements.
Also Read:
How to Connect an AWS Windows EC2 Instance


Nirav Shah is the Director of Eternal Web Pvt Ltd, an AWS Advanced Consulting Partner and certified Odoo Partner based in the UK. With over a decade of experience in cloud computing, digital transformation, and ERP implementation, Nirav helps enterprises adopt the right technology to solve complex business challenges. He specialises in AWS infrastructure, Odoo ERP, and web development solutions for businesses across the UK and beyond.
Have queries about your project idea or concept? Please drop in your project details to discuss with our AWS Global Cloud Infrastructure service specialists and consultants.


