March 19, 2020 / Nirav Shah
How to install MongoDB on an EC2 instance?
In this Blog, we will show you how to install MongoDB with authentication on an EC2 Instance.
Introduction
MongoDB is a free, distributed, and an open-source document database at its core that powers high availability, horizontal scaling, and geographic distribution. It stores data in JSON-like documents and supports Ad hoc queries, indexing, and real-time aggregation.
Prerequisites
In the Instance
We will gain ssh access into the Instance and start configuring the Instance for Installation. We are going to ssh into the Instance through command-line.
ssh -i private-key.pem ubuntu@ (ip-address)
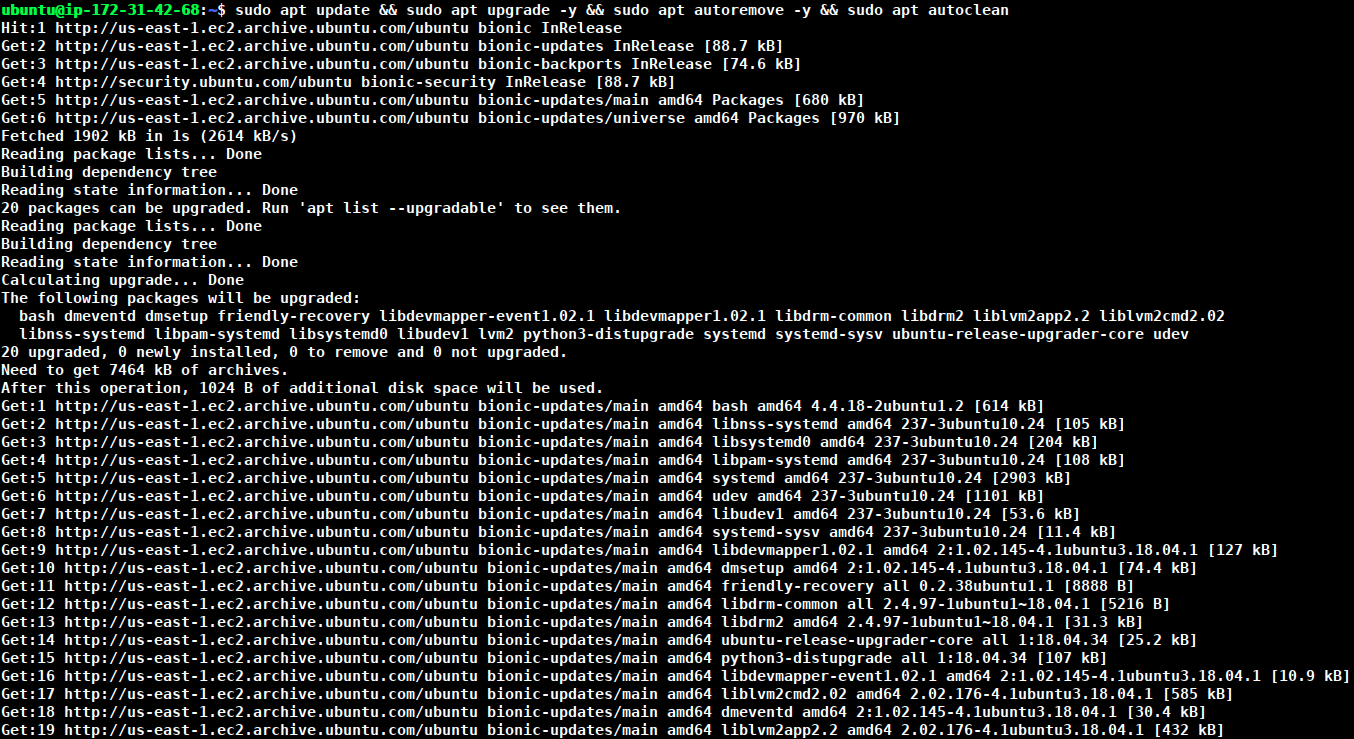
And Now we are able to connect to the Instance. The first thing we need to do is update the packages installed on the Instance as well as install some basic packages as per the requirements. First, we will update and clean the system by entering,
sudo apt update && sudo apt upgrade -y && sudo apt autoremove -y && sudo apt autoclean

Steps for Install MongoDB
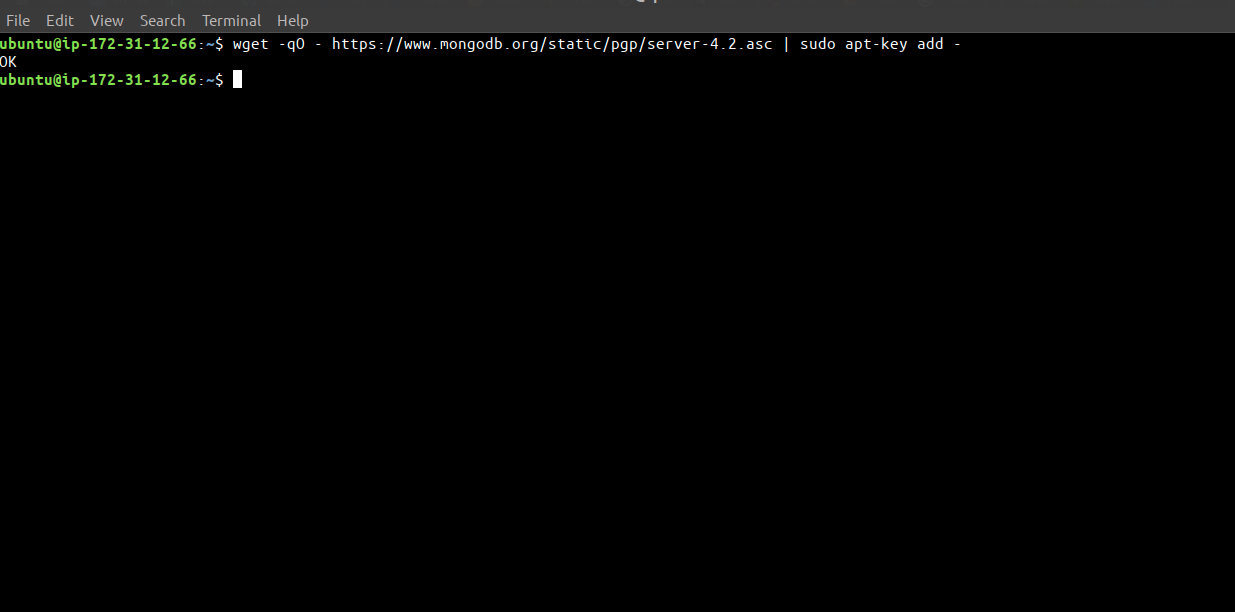
1. From a terminal, the following below command to import the MongoDB public GPG Key from,
$ wget -qO - https://www.mongodb.org/static/pgp/server-4.2.asc | sudo apt-key add -
However, if you receive an error indicating that gnupg is not installed, you can,
Install gnupg and its required libraries using the following command,
$sudo apt-get install gnupg
Once installed, retry importing the key
$wget -qO - https://www.mongodb.org/static/pgp/server-4.2.asc | sudo apt-key add -
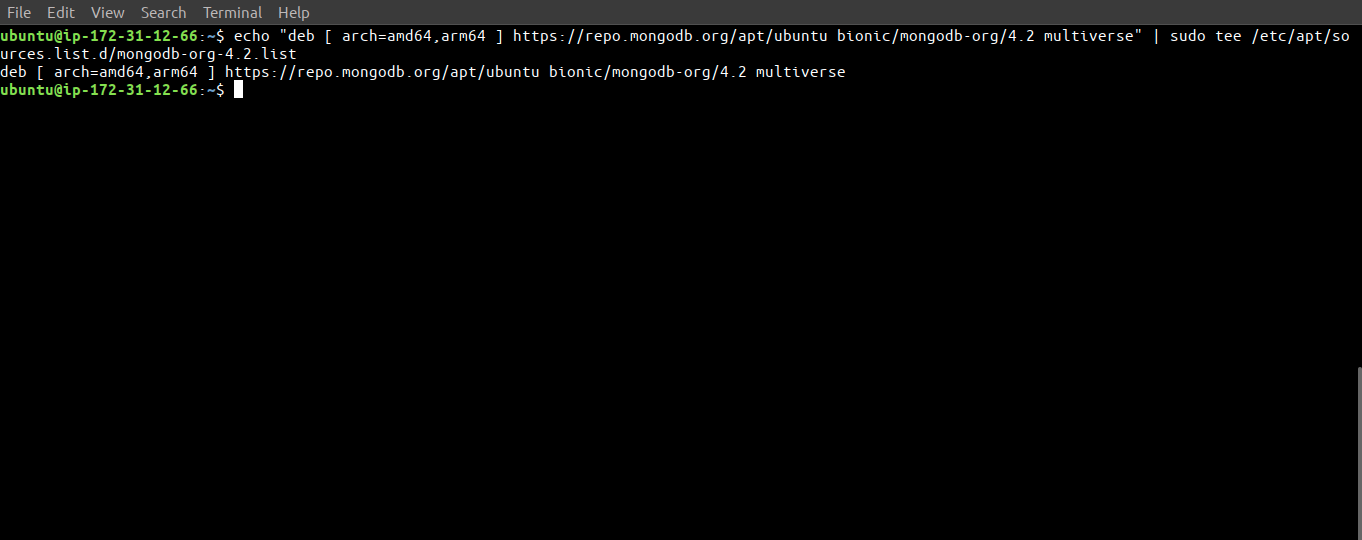
2. Create a list file for MongoDB
$echo "deb [ arch=amd64,arm64 ] https://repo.mongodb.org/apt/ubuntu bionic/mongodb-org/4.2 multiverse" | sudo tee /etc/apt/sources.list.d/mongodb-org-4.2.list
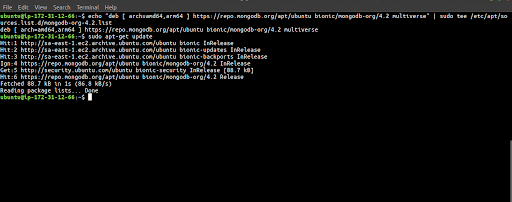
3. Reload local package database.
By reloading the local package you have to follow the command below.
$sudo apt-get update
4. Install the MongoDB packages
You can install either use latest stable version by below command,
$sudo apt-get install -y mongodb-org
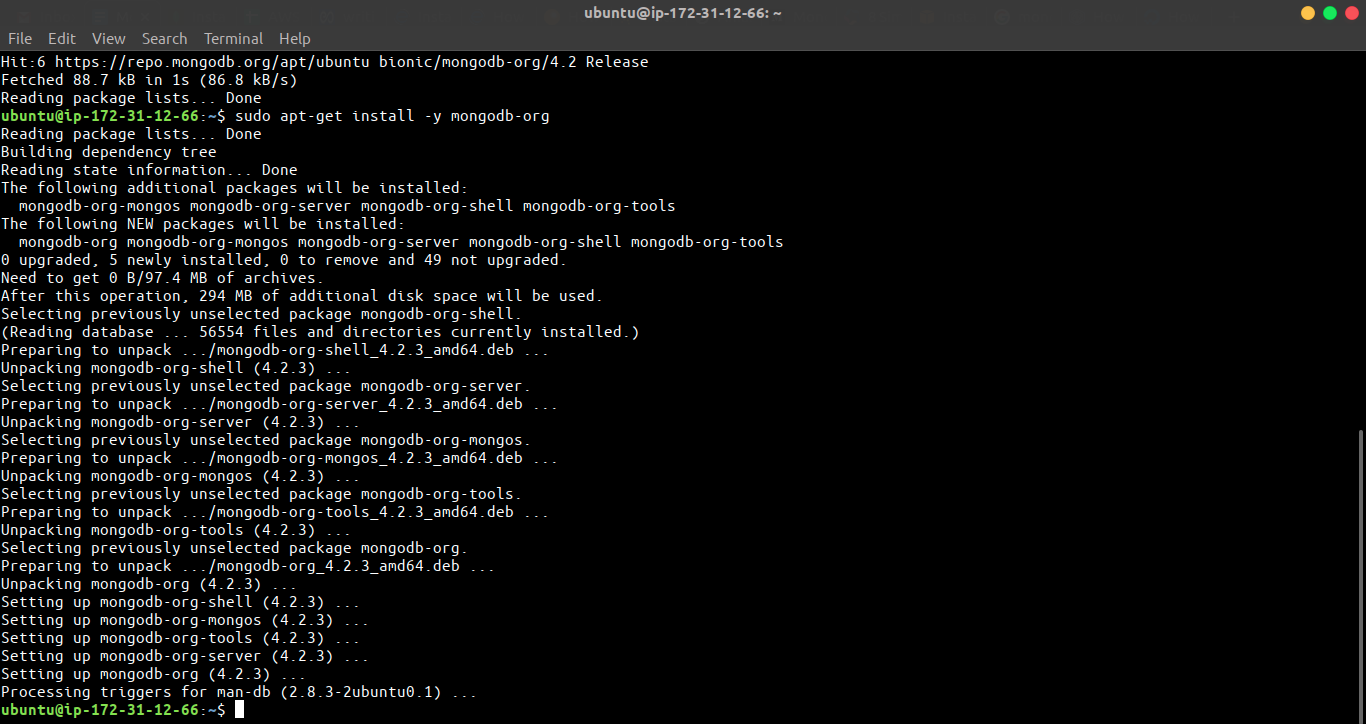
And if you want to install a specific version of MongoDB then,
$sudo apt-get install -y mongodb-org=4.2.3 mongodb-org-server=4.2.3 mongodb-org-shell=4.2.3 mongodb-org-mongos=4.2.3 mongodb-org-tools=4.2.3
5. Start MongoDB
$sudo systemctl start mongod
If you receive an error similar to the following when starting,
Failed to start mongod.service: Unit mongod.service not found.
So you have to Run the following command first,
$sudo systemctl daemon-reload
Then run the start command above again,
6. Now we have to verify MongoDB has status
$sudo systemctl status mongod
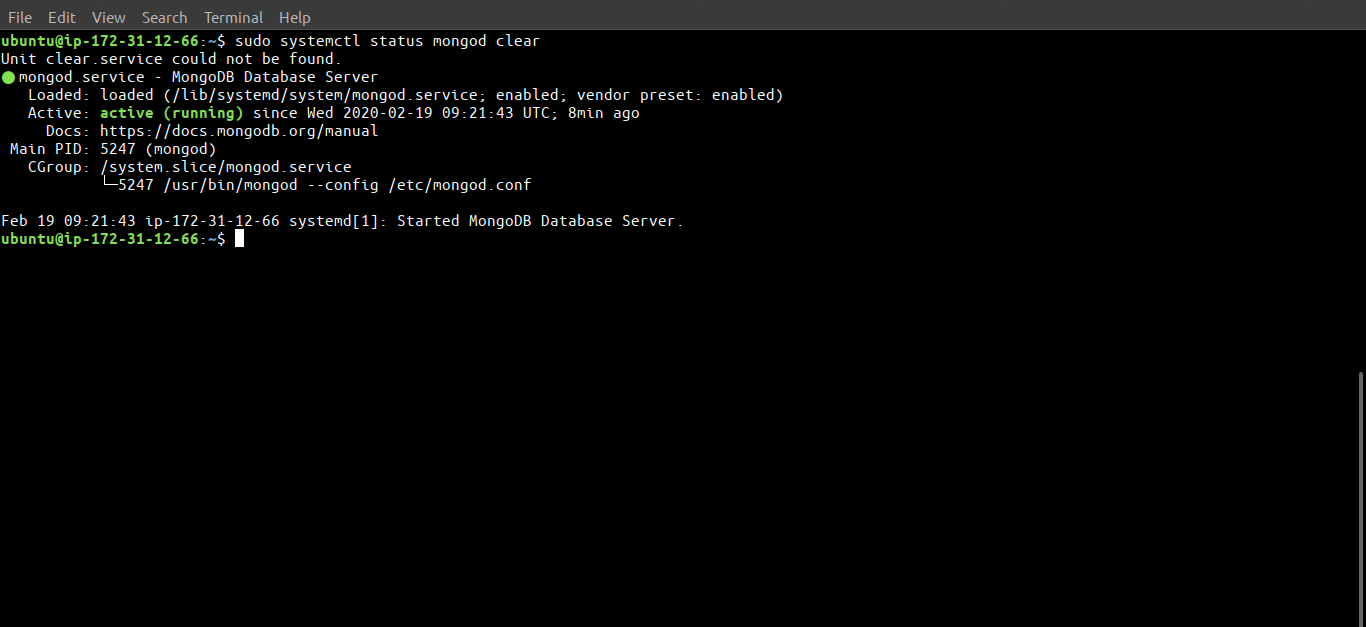
You can optionally ensure that MongoDB will start following a system reboot by issuing the following command.
$sudo systemctl enable mongod
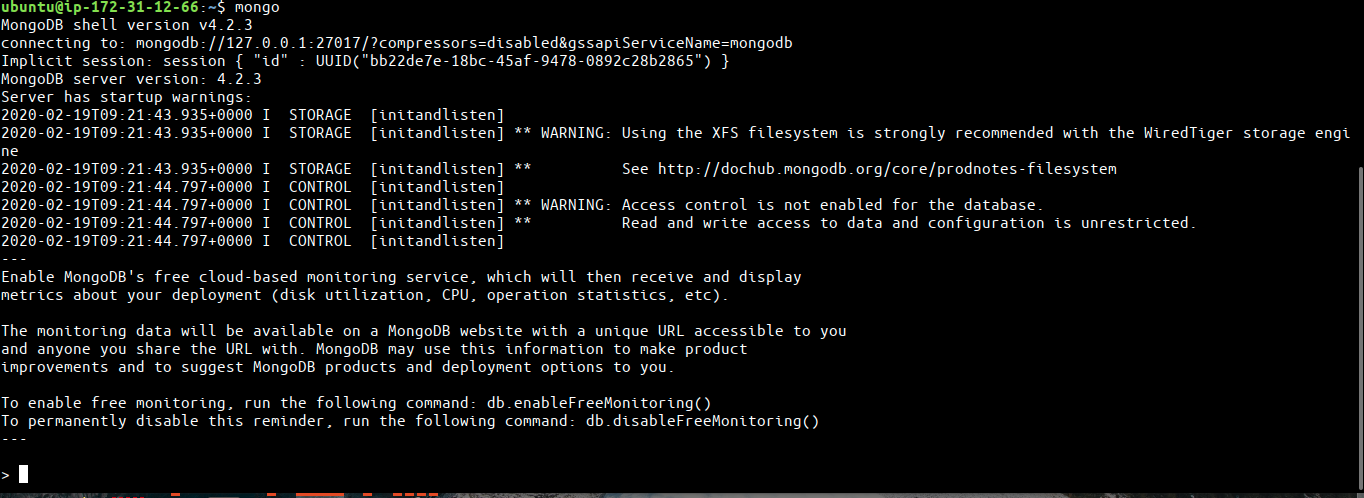
7. Configure and Connect MongoDB
Once the service is started, you need to connect to the Mongo shell for creating a user. To connect to the Mongo shell, use the below command.
$mongo


Nirav Shah is the Director of Eternal Web Pvt Ltd, an AWS Advanced Consulting Partner and certified Odoo Partner based in the UK. With over a decade of experience in cloud computing, digital transformation, and ERP implementation, Nirav helps enterprises adopt the right technology to solve complex business challenges. He specialises in AWS infrastructure, Odoo ERP, and web development solutions for businesses across the UK and beyond.
Have queries about your project idea or concept? Please drop in your project details to discuss with our AWS Global Cloud Infrastructure service specialists and consultants.


