July 17, 2020 / Nirav Shah
Automate Building CI/CD pipelines with Jenkins and GitHub
Steps To Setting Up CI/CD Pipelines with Jenkins and GitHub
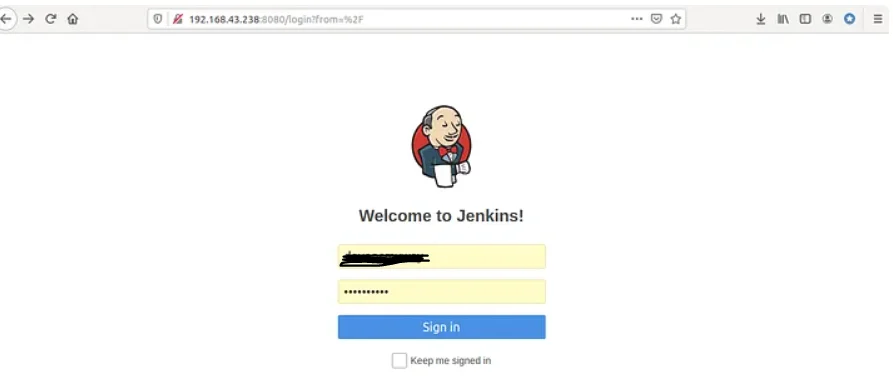
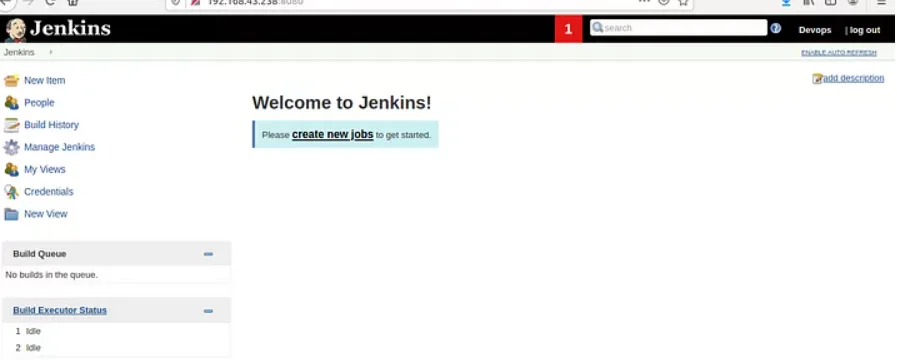
Step 1:Login to your Jenkins account
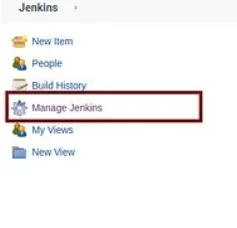
Step 2:Click on “manage jenkins”
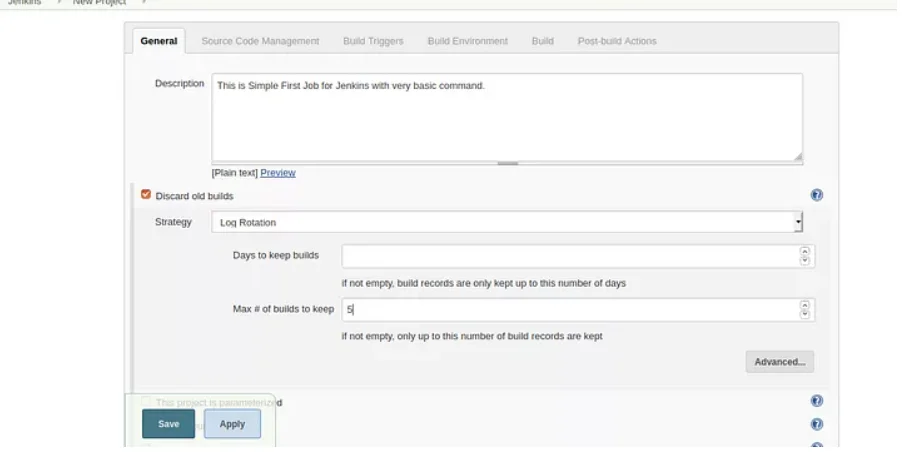
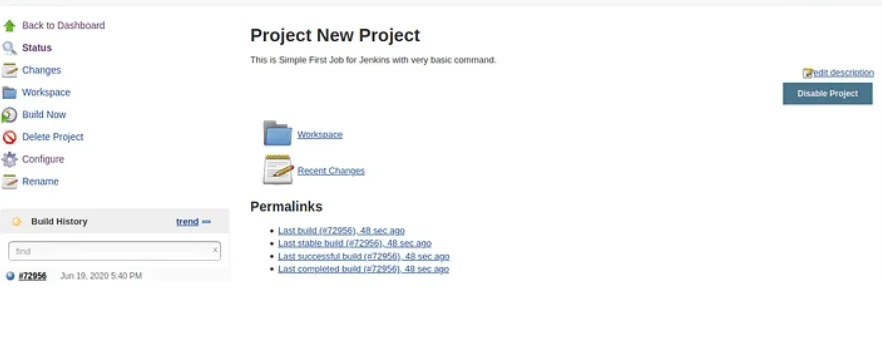
Step 3:Put the description
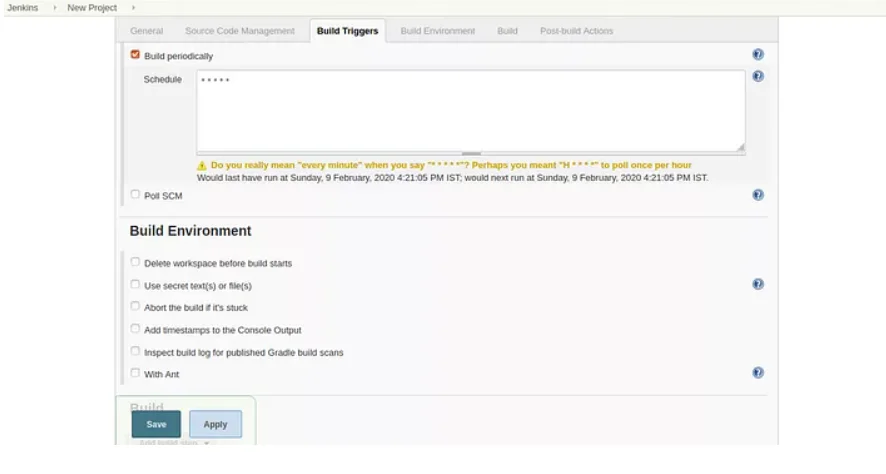
Step 4:Keep Source Code Management
Step 5:In Build option
Step 6:Click on the job name
Step 7:configure
Step 8:Git account and Clone
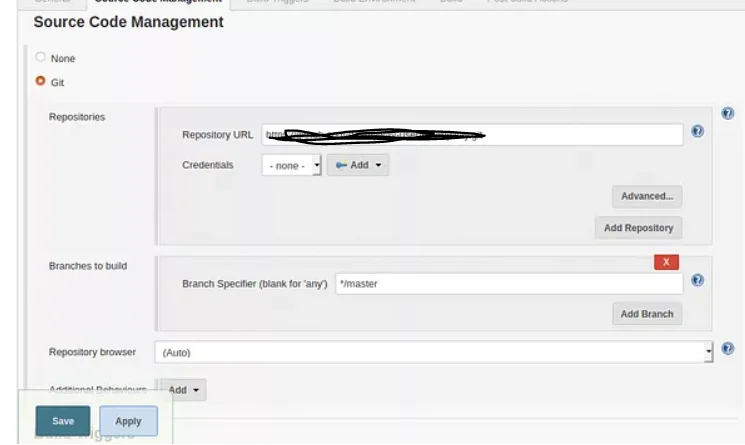
Step 9:Source Code Management
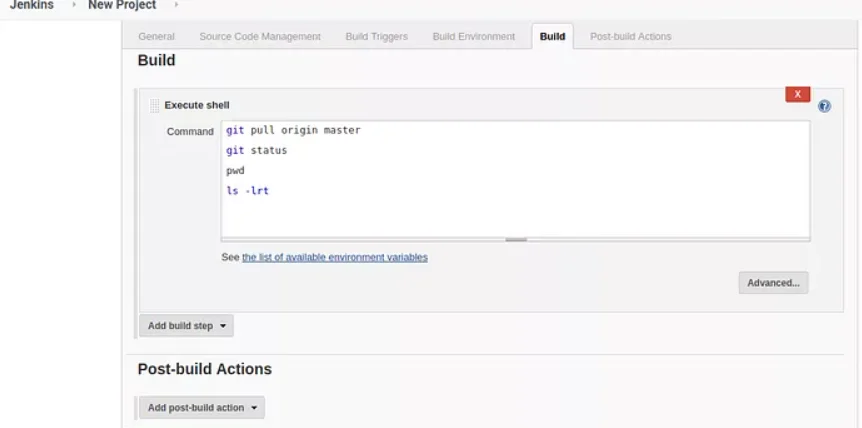
Step 10:Write commands
Jenkins with Github is used to create CI and CD pipeline. So that we can automate the Build and Deployment process using Jenkins Jobs.
Don’t know about Jenkins? Go through this article to know, how you can install java and jenkins on AWS.
Step 1
Login to your Jenkins account
Step 2
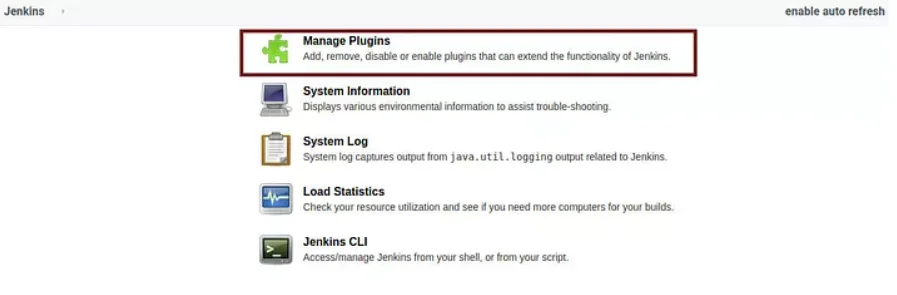
Click on “manage jenkins”
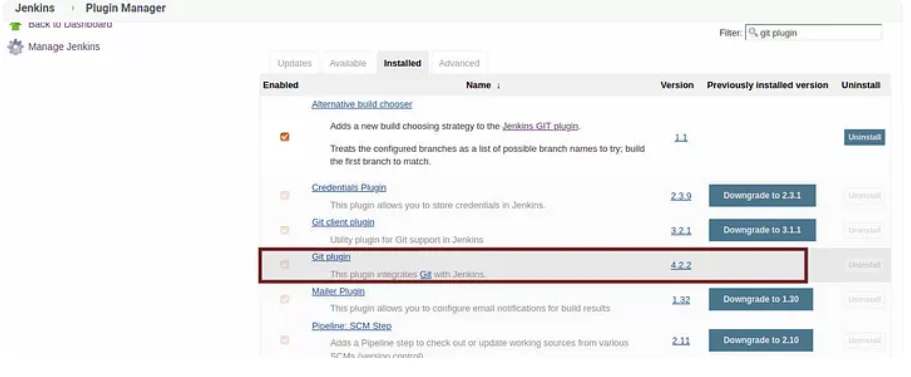
And go to the “managed plugins”
So you can see all the required GIT plugins will install. It will take some time
Now to click on “create a new job” or new item and go to freestyle project

Step 3
Put the description about the Jenkins job you are creating.keep the value of Max # of builds to keep as 5
Step 4
Keep Source Code Management as none. As we are not using any Source Code right now.
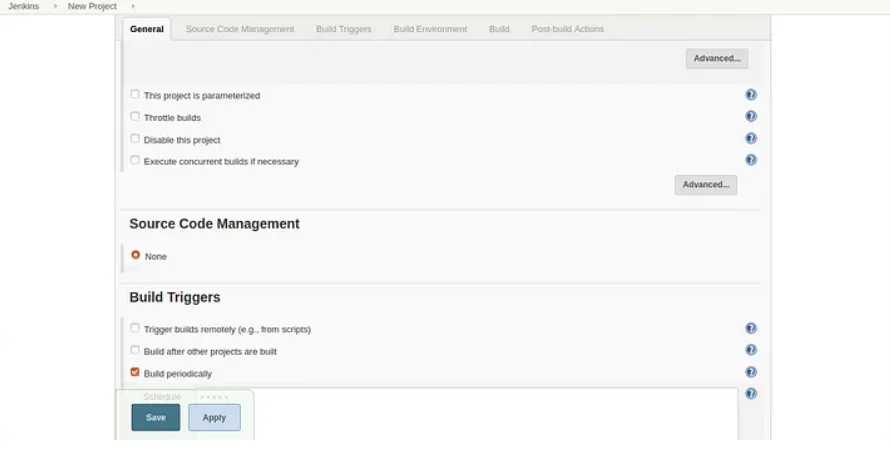
Click on checkbox Build periodically. Put 5 stars with space like * * * * * in the schedule box and this means your job will run on every minute. This is called crontab.
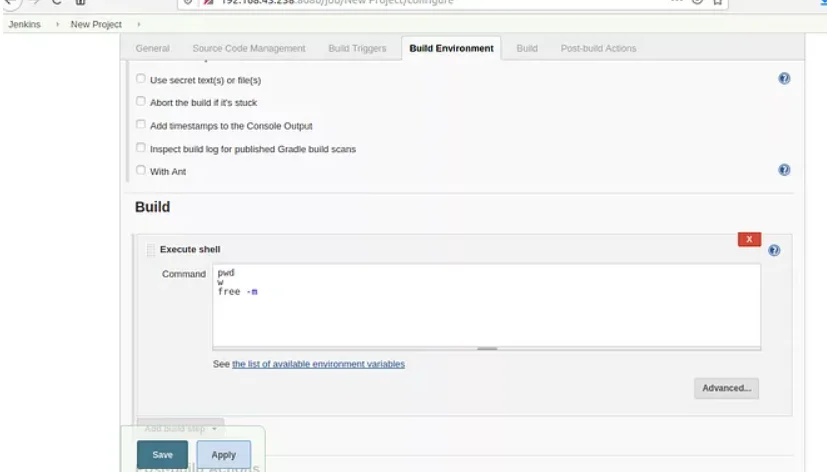
Step 5
In Build option, Execute Shell.
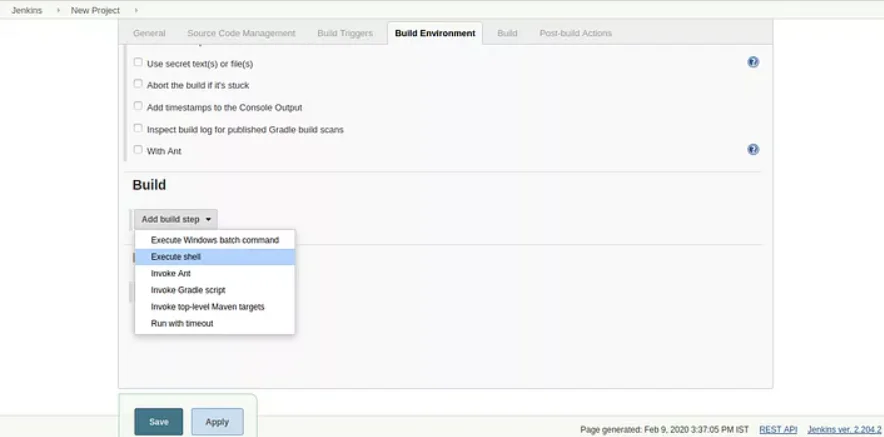
Some basic command that I put here are
Pwd
W
Free -m
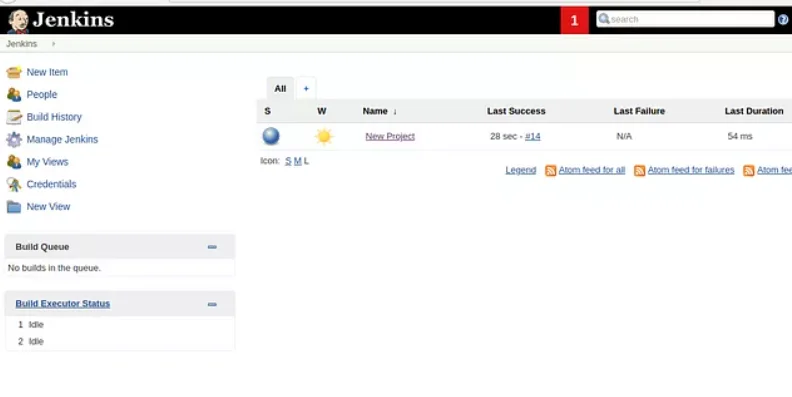
Step 6
Now your First Jenkins Build job is created. Click on the job name “New Project” to see your builds
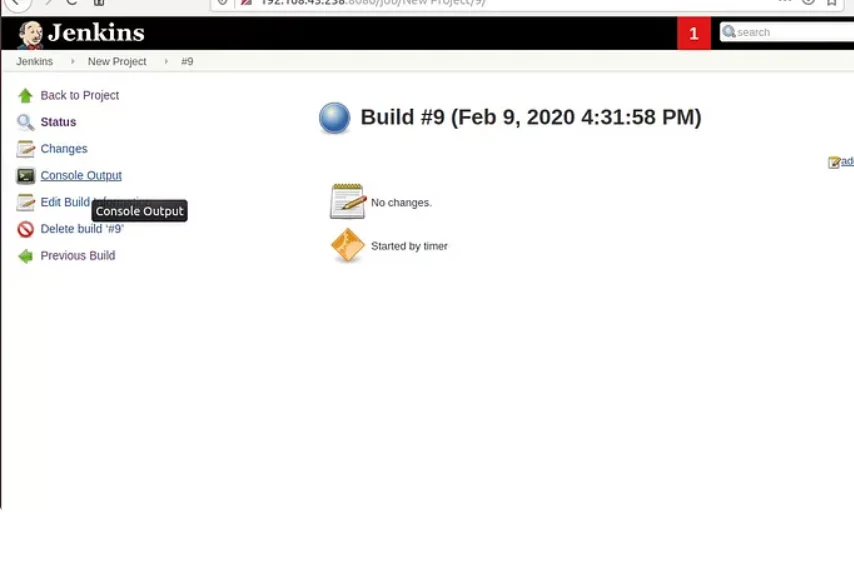
After your build is created you will see “console output” it is very important for troubleshooting purposes.
Step 7
Click on configure
Step 8
Now go to your git account and Clone or Download and copy the repository URL.
Step 9
Source Code Management and click on Git. Paste the copied URL of Git Repository
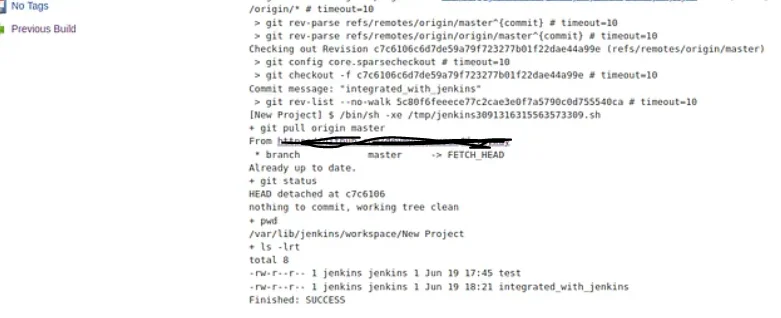
Step 10
Now scroll down to build and write below commands
git pull origin master
git status
Pwd
ls -lrt
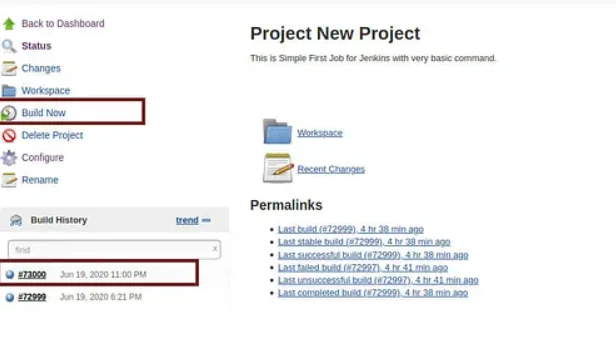
And click on save, Now Click on Build Now and then Click on Build No #7300
And final step click on console output and its look like this
Congratulations! You have an automated CI/CD pipeline with Jenkins and GitHub.
Also Read: Integration of jenkins with gitlab


Nirav Shah is the Director of Eternal Web Pvt Ltd, an AWS Advanced Consulting Partner and certified Odoo Partner based in the UK. With over a decade of experience in cloud computing, digital transformation, and ERP implementation, Nirav helps enterprises adopt the right technology to solve complex business challenges. He specialises in AWS infrastructure, Odoo ERP, and web development solutions for businesses across the UK and beyond.
Have queries about your project idea or concept? Please drop in your project details to discuss with our AWS Global Cloud Infrastructure service specialists and consultants.


