April 27, 2020 / Nirav Shah
In this blog we will show you how to install JAVA and Jenkins on AWS ec2 running ubuntu 16.04. Before we start let us give you some ideas about java and jenkins.
Java is a general-purpose computer programming language that is concurrent, class-based, object-oriented, and specifically designed to have as few implementation dependencies as possible.
Jenkins is a free and open source automation server. It helps automate the parts of software development related to building, testing, and deploying, facilitating continuous integration and continuous delivery. Jenkins is free and is entirely written in Java.
We hope now you have a basic idea about Java and jenkins, so now let’s see how to set-it up through AWS console. We assume that you have already set up an AWS account and an EC2 instance. In case you don’t know, please have a look at our blog for EC2 starter kit: How to setup EC2 instance in AWS for free.
Prerequisites
In the EC2 Instance
We will gain ssh access into the instance and start configuring the instance for installation. We are going to ssh into the instance through command-line.
ssh -i private-key.pem ubuntu@ (ip-address)
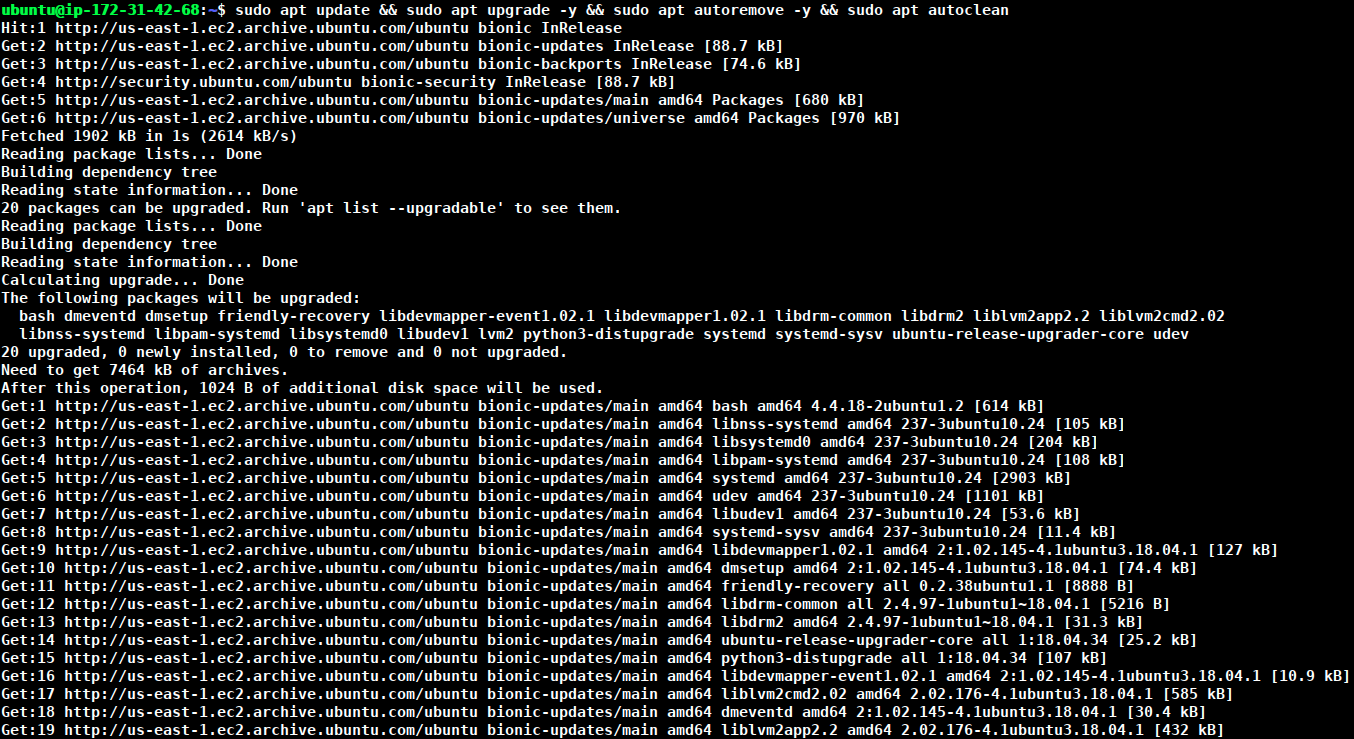
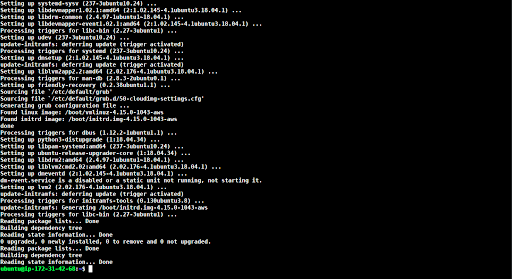
And now we are able to connect to the instance. The first thing we need to do is update the packages installed on the instance as well as install some basic packages as per the requirements. First, we will update and clean the system by using following command.
sudo apt update && sudo apt upgrade -y && sudo apt autoremove -y && sudo apt autoclean
Installing Java on AWS ec2 instance running Ubuntu 16.04:
Type the following commands
sudo add-apt-repository ppa:webupd8team/java
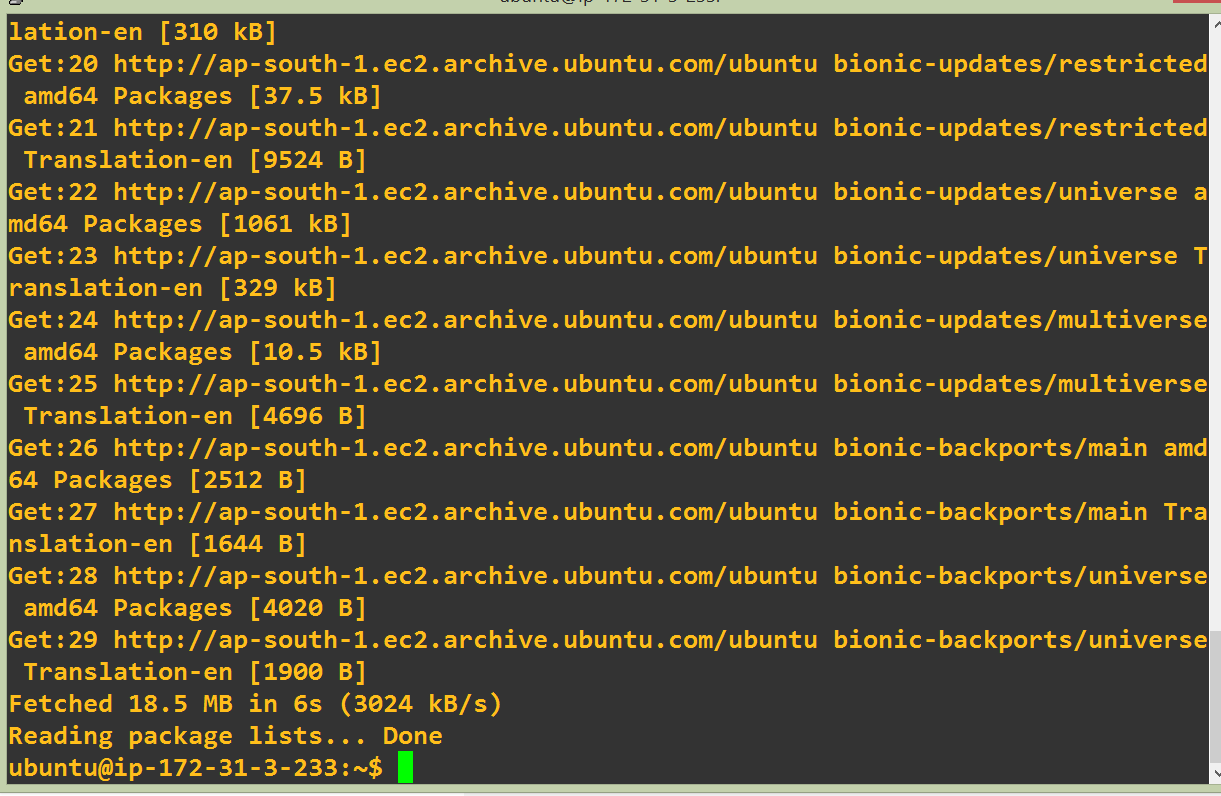
sudo apt-get update
sudo apt-get install openjdk-8-jdk
Check the java version installed
java -version

1. First we need to add the repository key to the system
wget -q -O - https://pkg.jenkins.io/debian-stable/jenkins.io.key | sudo apt-key add -
2. Add the following entry in your /etc/apt/sources.list
sudo sh -c 'echo deb https://pkg.jenkins.io/debian-stable binary/ > /etc/apt/sources.list.d/jenkins.list'

3. Now run the following commands
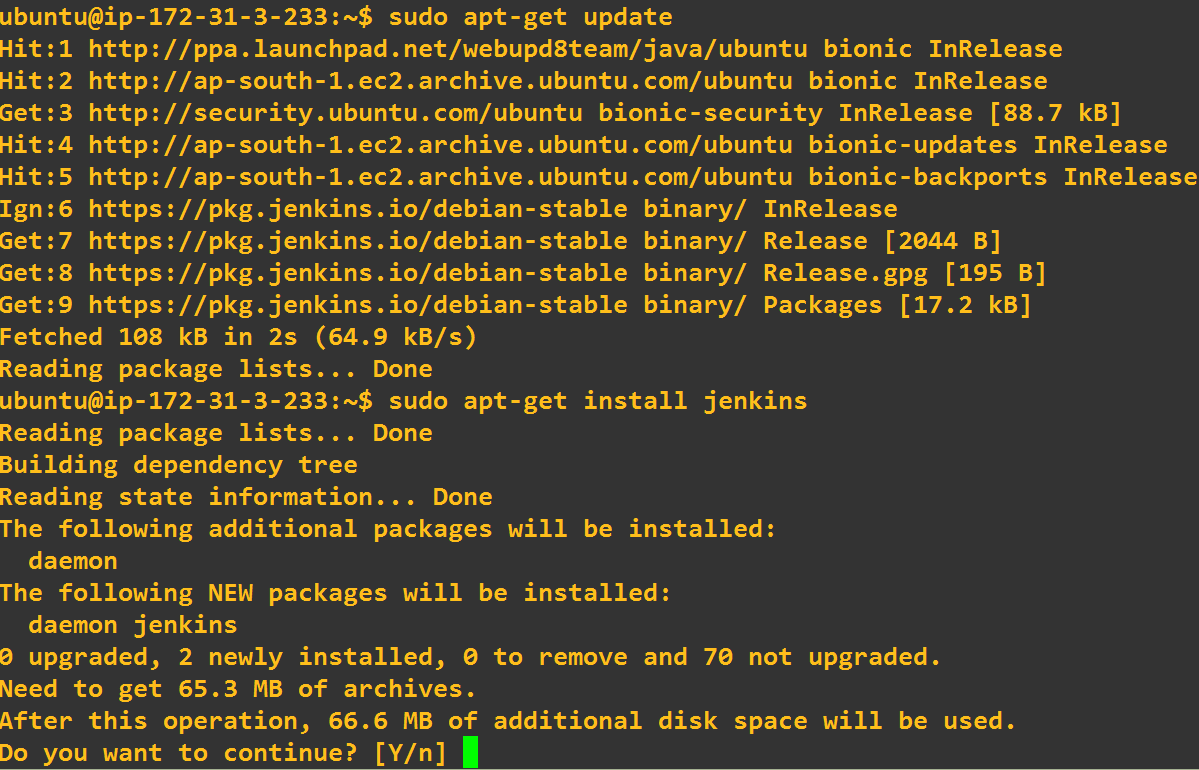
sudo apt-get update
sudo apt-get install jenkins
4. Go to the browser : (ip_address):8080
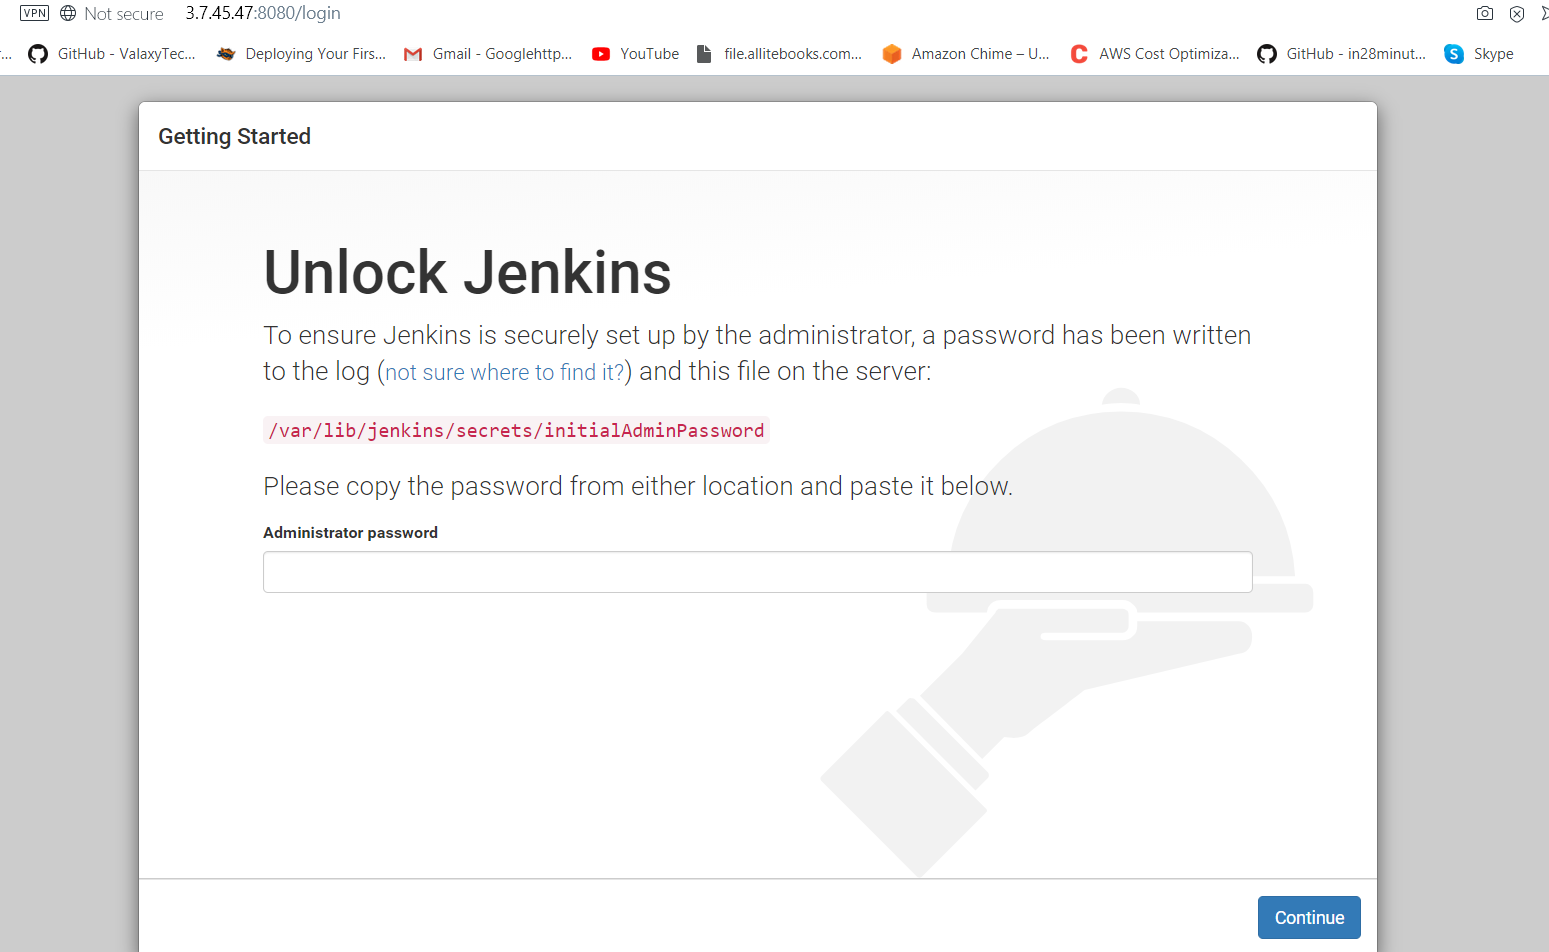
5. Administrator password ???
Don’t Worry just Go to the mentioned directory path using cat command in order to view the initialAdminPassword generated by default.
sudo cat /var/lib/jenkins/secrets/initialAdminPassword
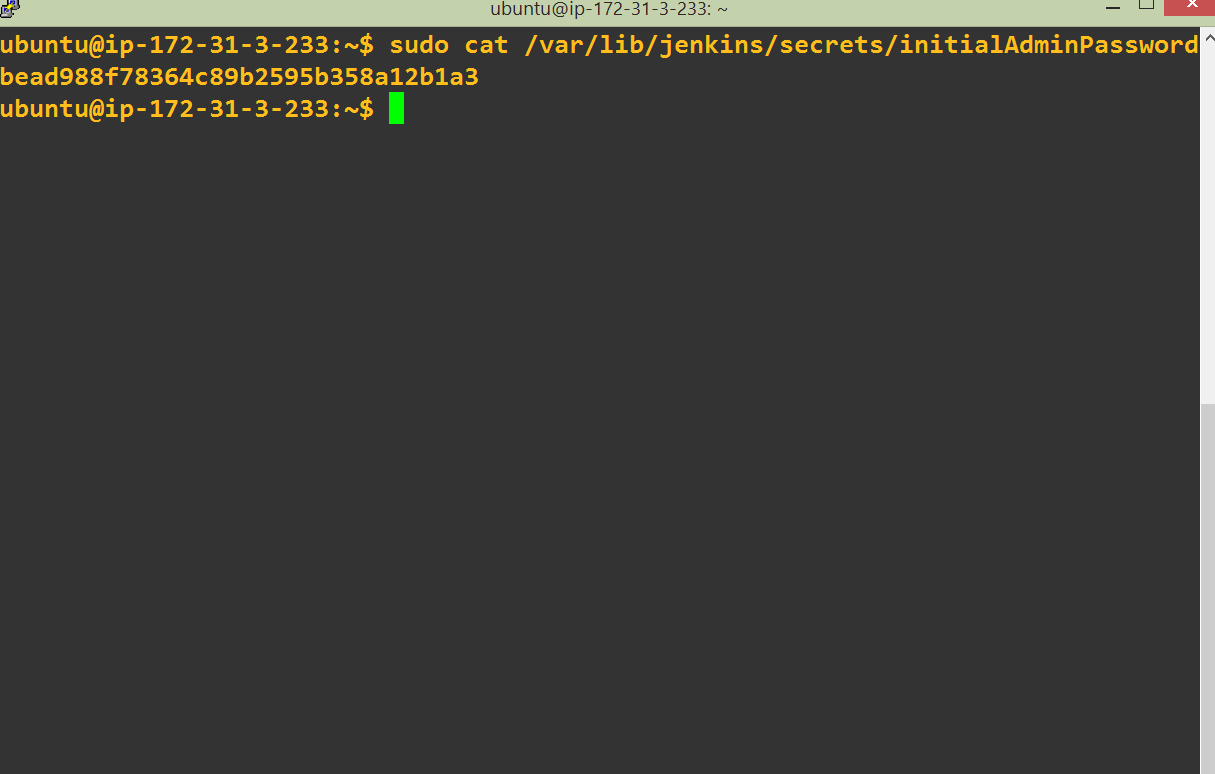
Copy the generated password and paste in the “Administrator Password” section as shown above.
6. Click on the “Install suggested plugins” option

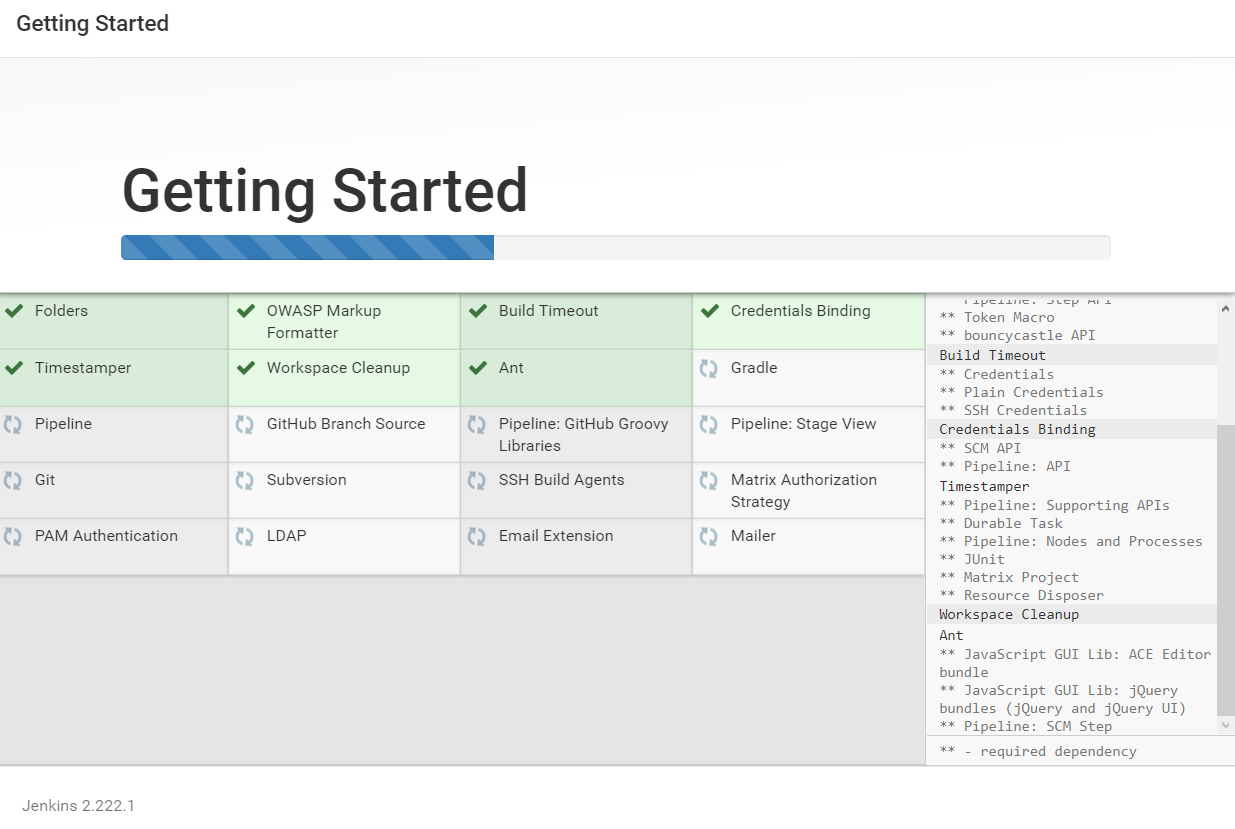
It will take time to complete…. 🙁
7. Add first admin user
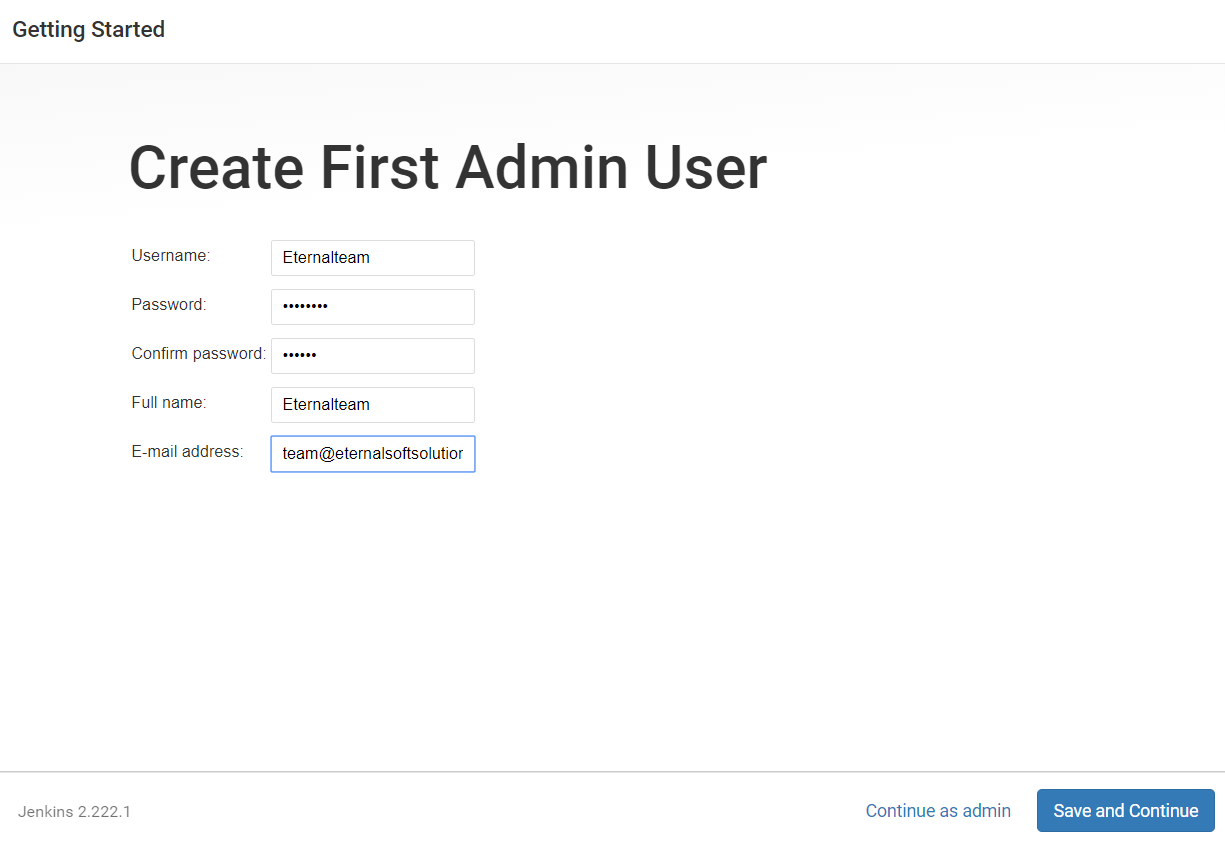
Click on Save and continue.
So in the end you will get URL like this
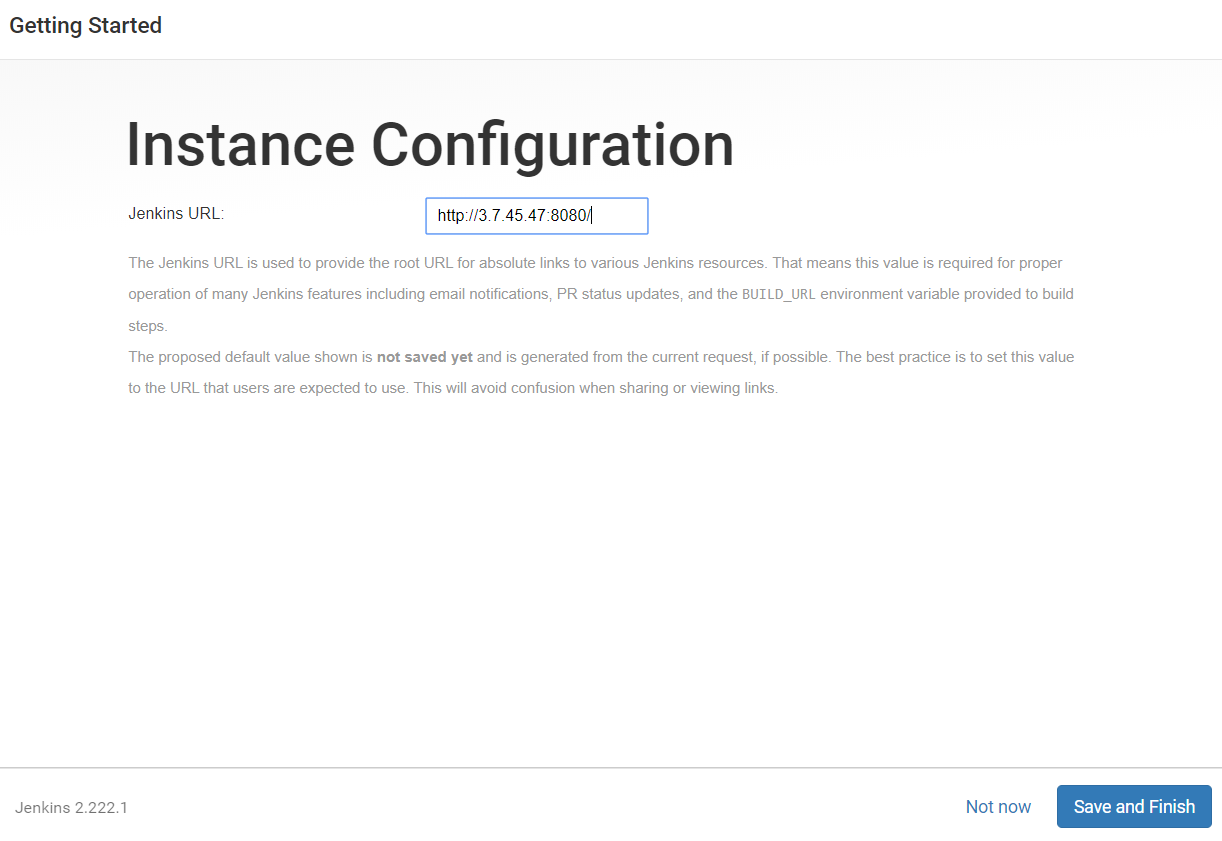
8. Click Save and Finish
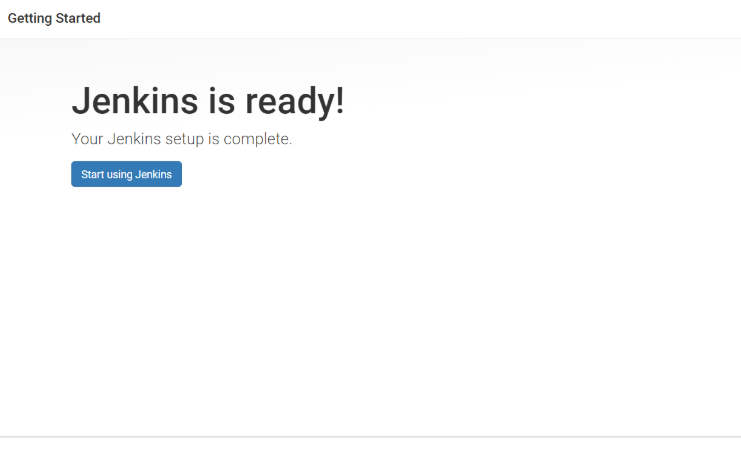
Hola Jenkins is ready….. 🙂
Go to your browser and connect to your jenkins server at default port 8080.
:8080


Nirav Shah is the Director of Eternal Web Pvt Ltd, an AWS Advanced Consulting Partner and certified Odoo Partner based in the UK. With over a decade of experience in cloud computing, digital transformation, and ERP implementation, Nirav helps enterprises adopt the right technology to solve complex business challenges. He specialises in AWS infrastructure, Odoo ERP, and web development solutions for businesses across the UK and beyond.
Have queries about your project idea or concept? Please drop in your project details to discuss with our AWS Global Cloud Infrastructure service specialists and consultants.


